As part of my specialist project at university, I decided to do a full body character sculpt. This involved character design, modelling, and sculpting. The aim was to create a character that was fun to make and look at. I didn’t want to make the generic muscly warrior, and instead try something different.
For inspiration I looked at the big players of digital character design; Pedro Conti, Vitorugo, Mike Azevedo, Even Amundsen, and Alexandre Diboine.
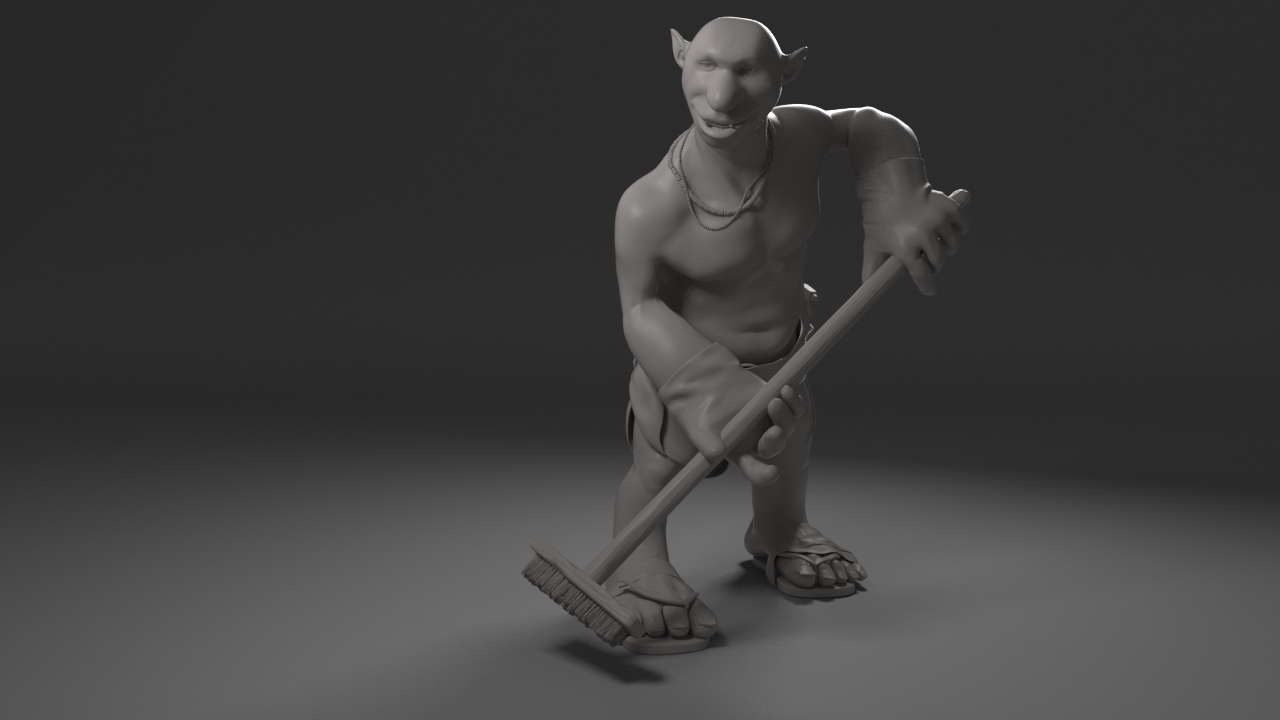
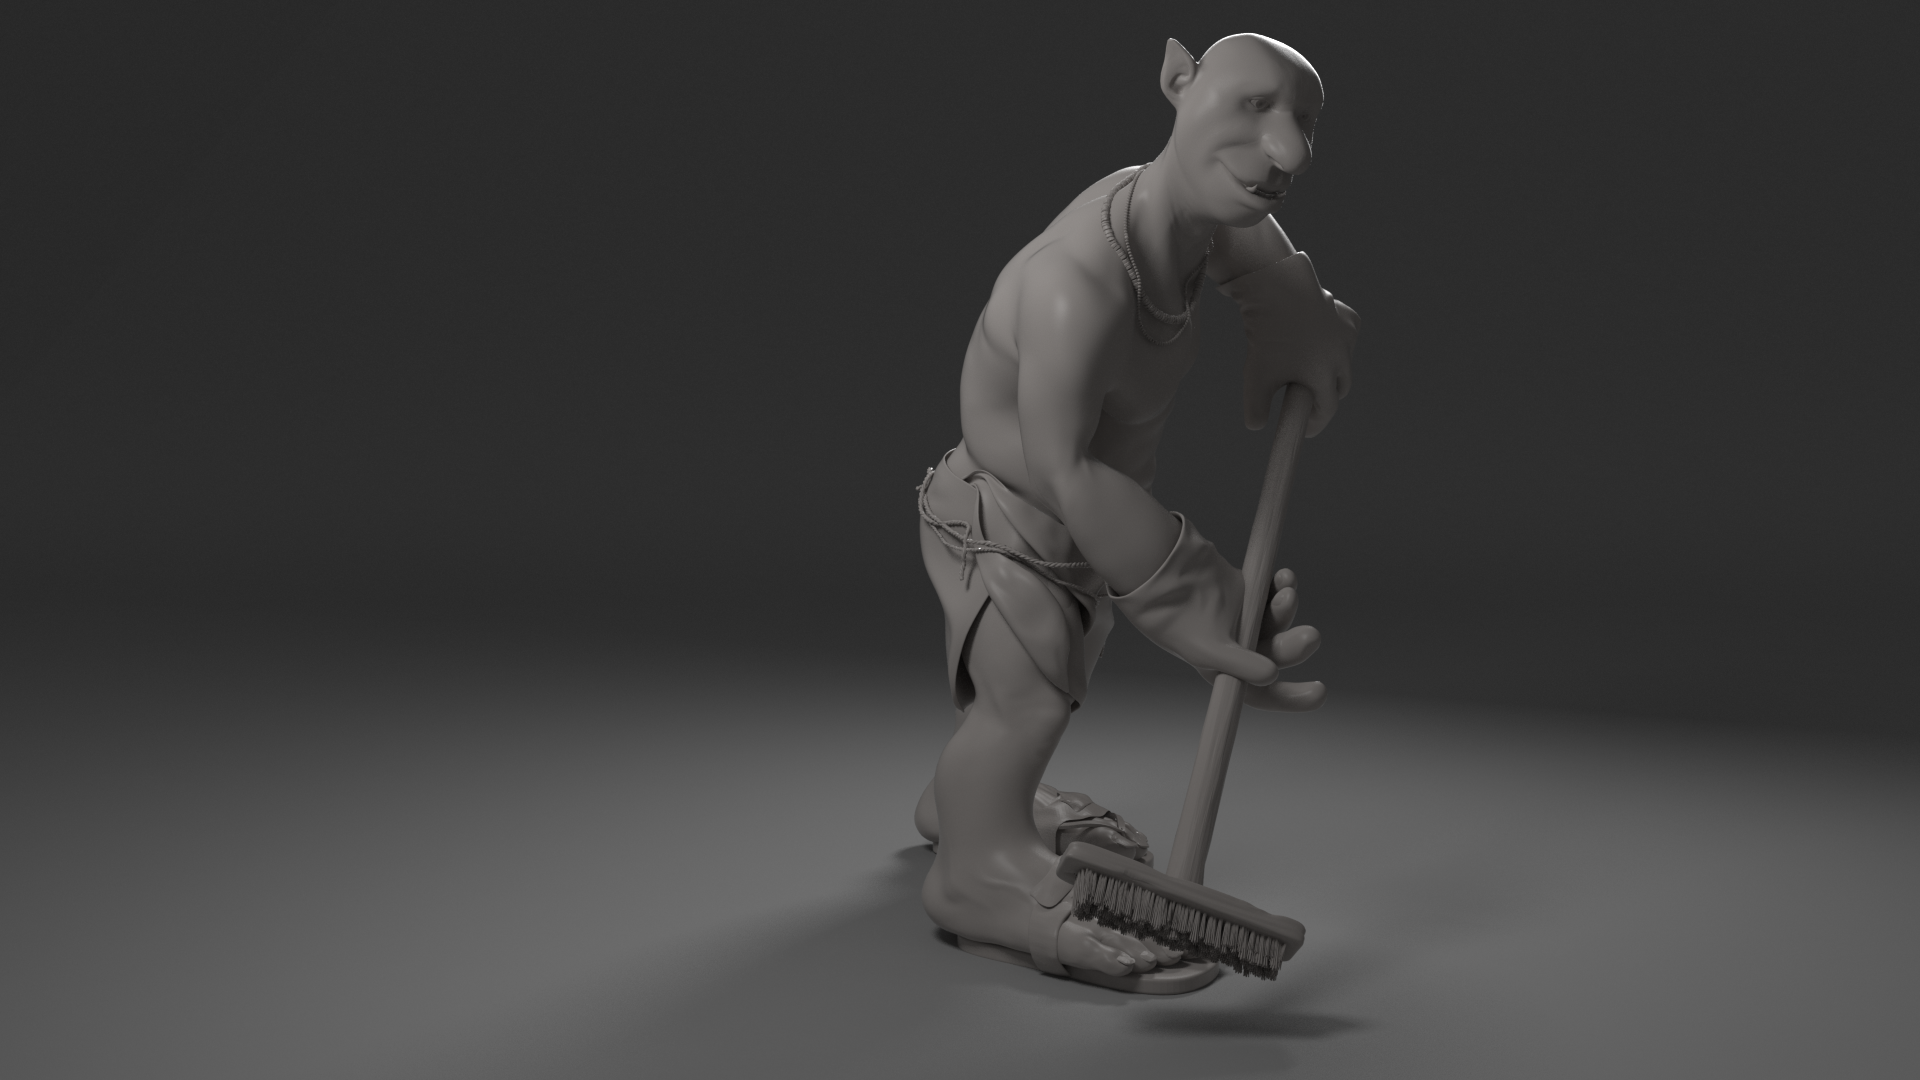
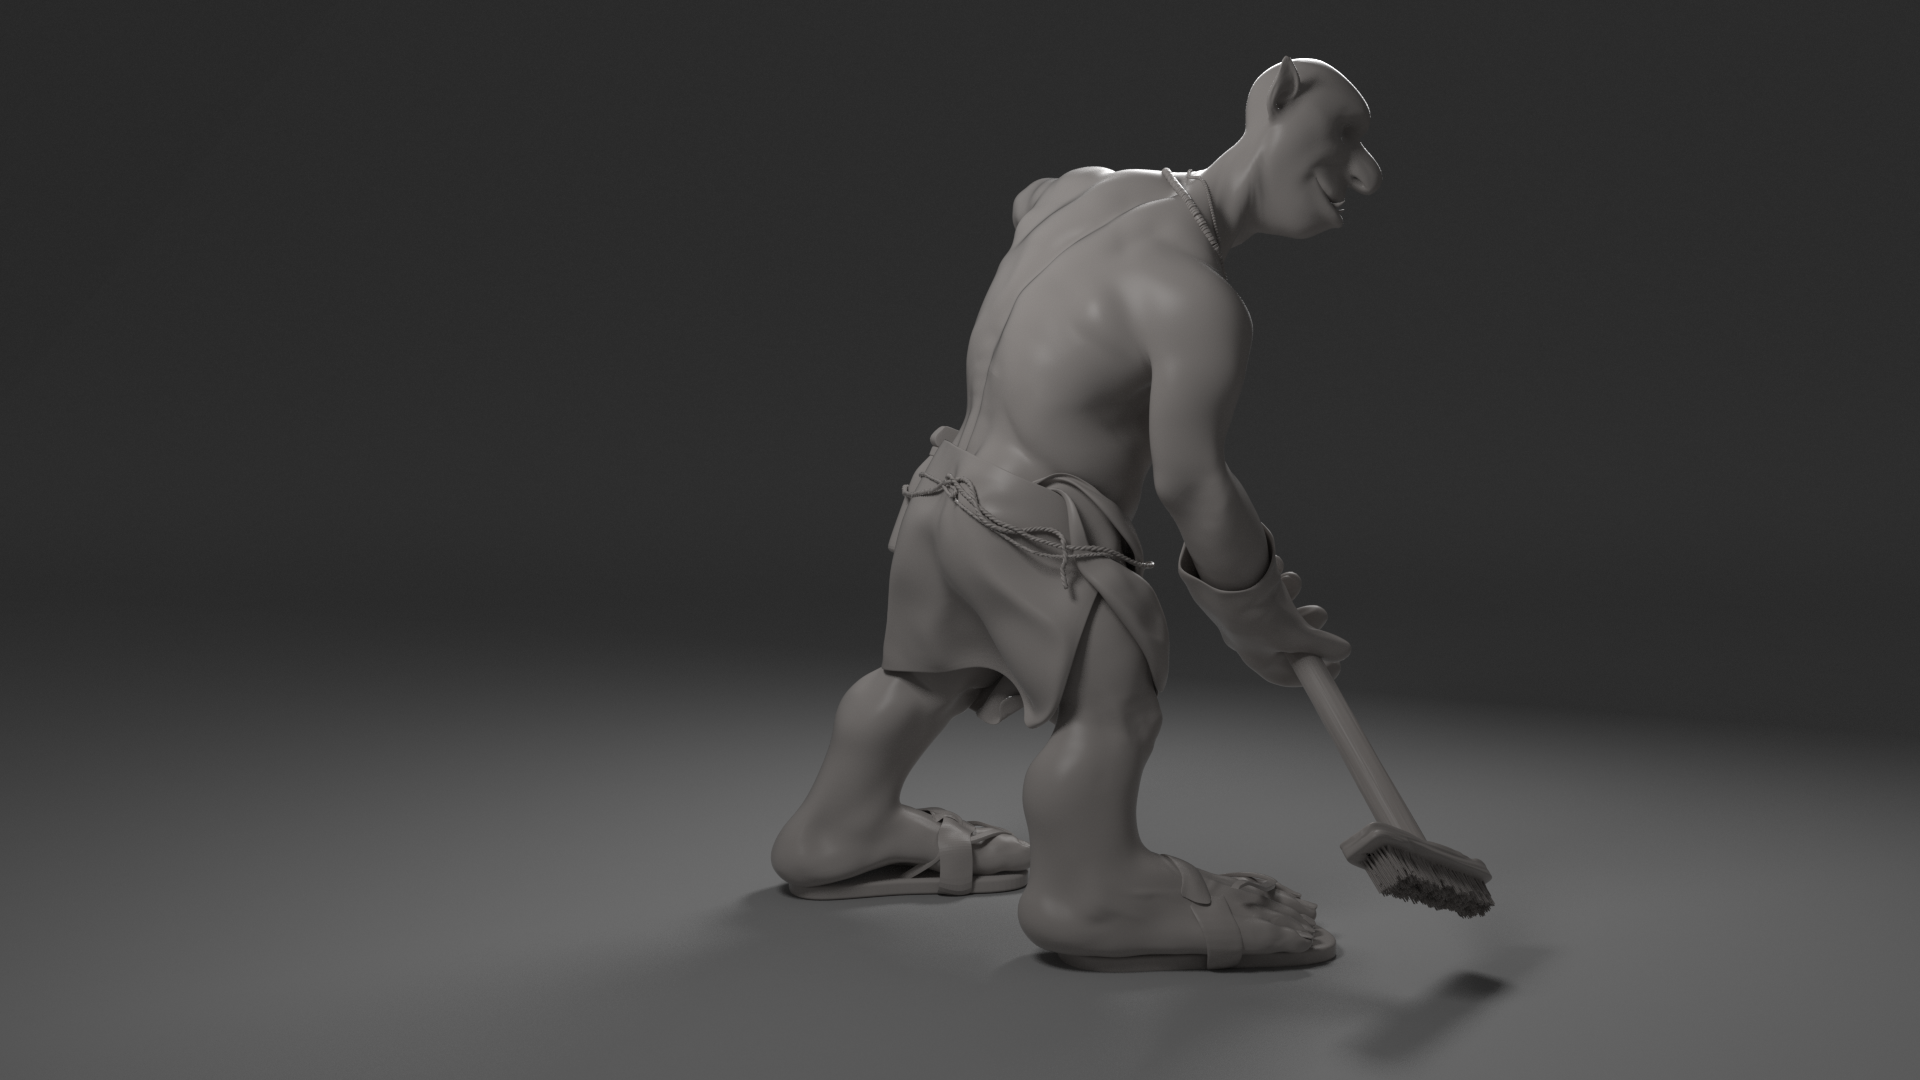
To get the ideas going I brainstormed my character a few times, looking at setting, personality, aspirations, etc. I arrived at Gerald, the happy cleaner. He’s an ogre and a bit of an outsider. He likes to clean and make the world organised. He keeps his home under the bridge clean and sterilised. He isn’t quite so careful about his appearance, but that’s because he doesn’t have any mirrors!
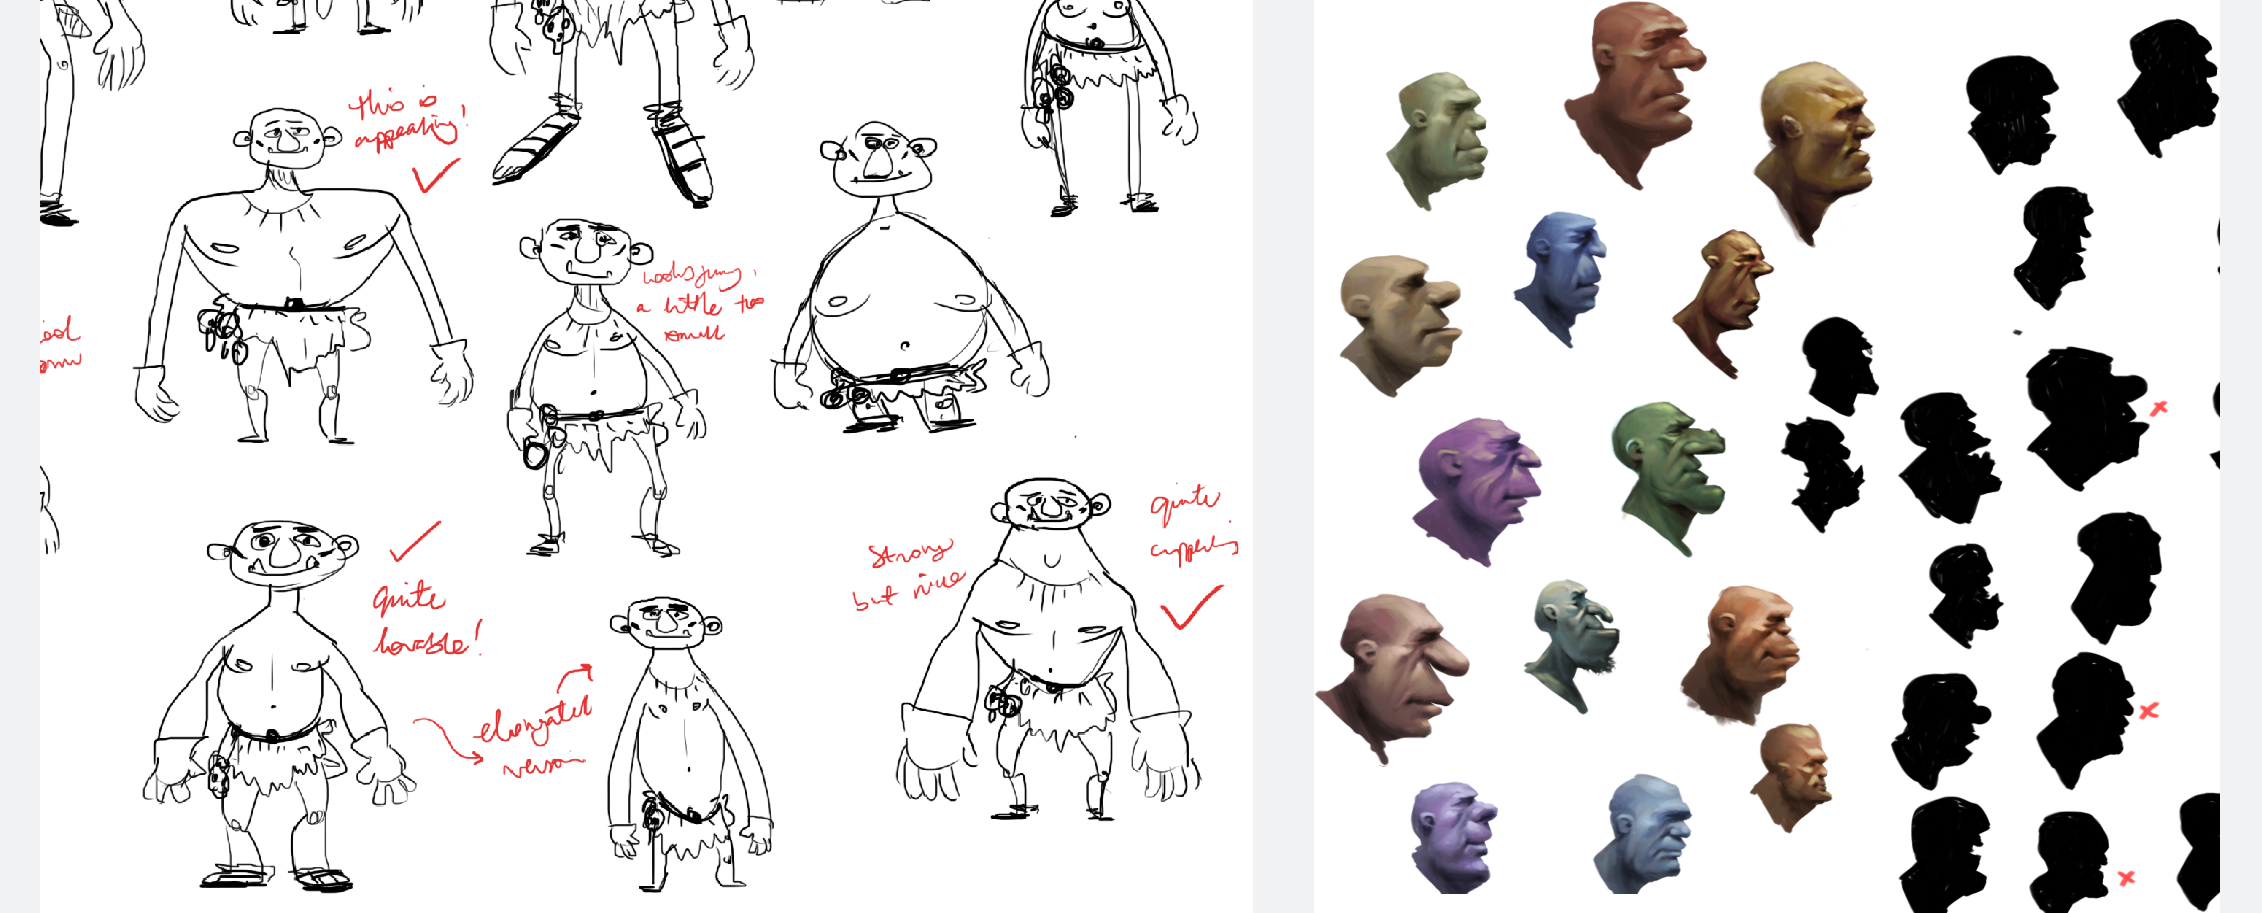
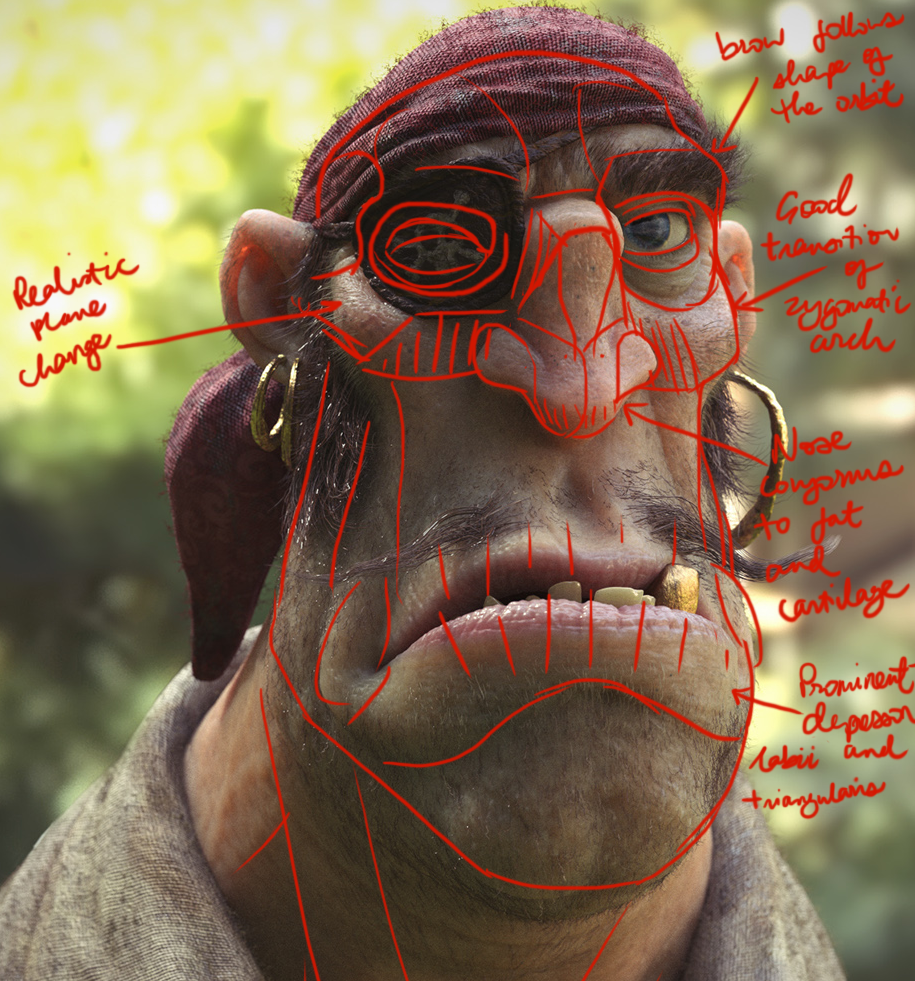
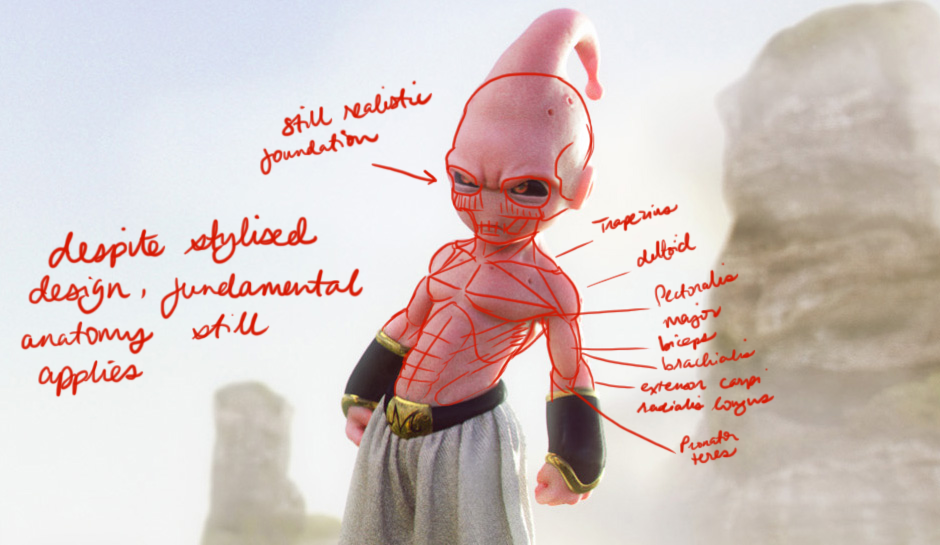
I tried to keep the design appealing, while retaining anatomical accuracy. I wanted to use all the knowledge I’ve learnt from figure sculpting and apply it to something more stylised (than the constant ecorches). This is something that can be observed in good character sculpts. A quick paintover of Pedro Conti’s Pirate, and Vitorugo’s Buu demonstrates this.
So with the initial pre-production done, I started sculpting. I like to outline the feeling and character of a character in the pre-production more than the physical properties. I then develop the idea further in Zbrush, where I can see the 3D forms and play around with them.
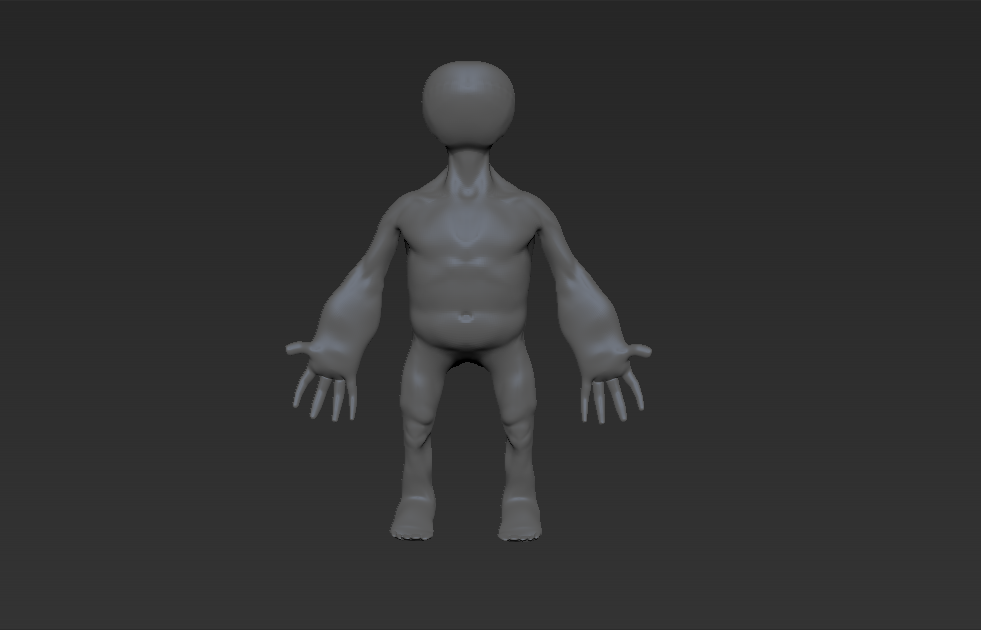
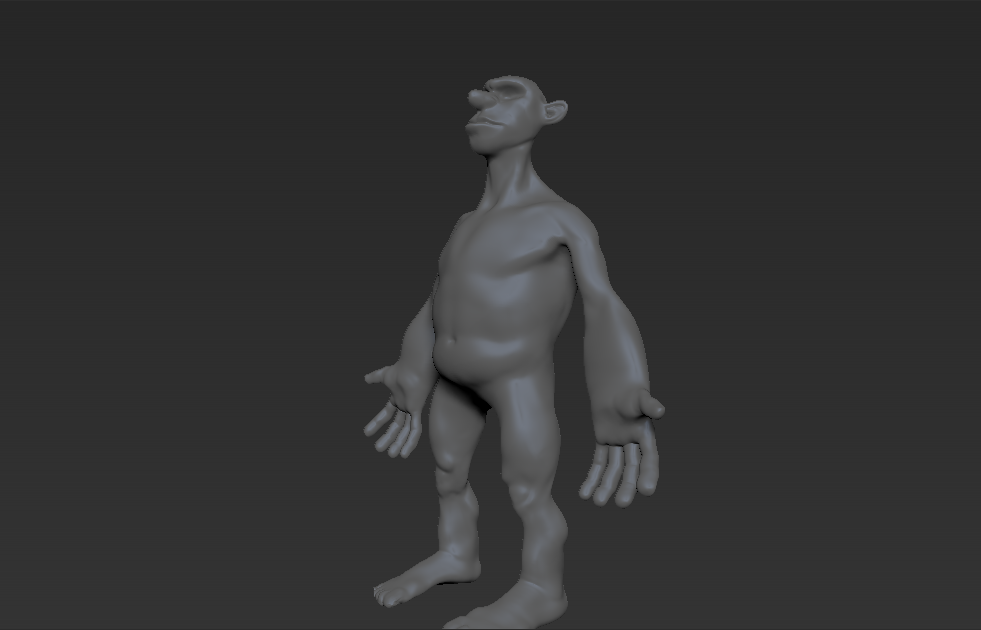
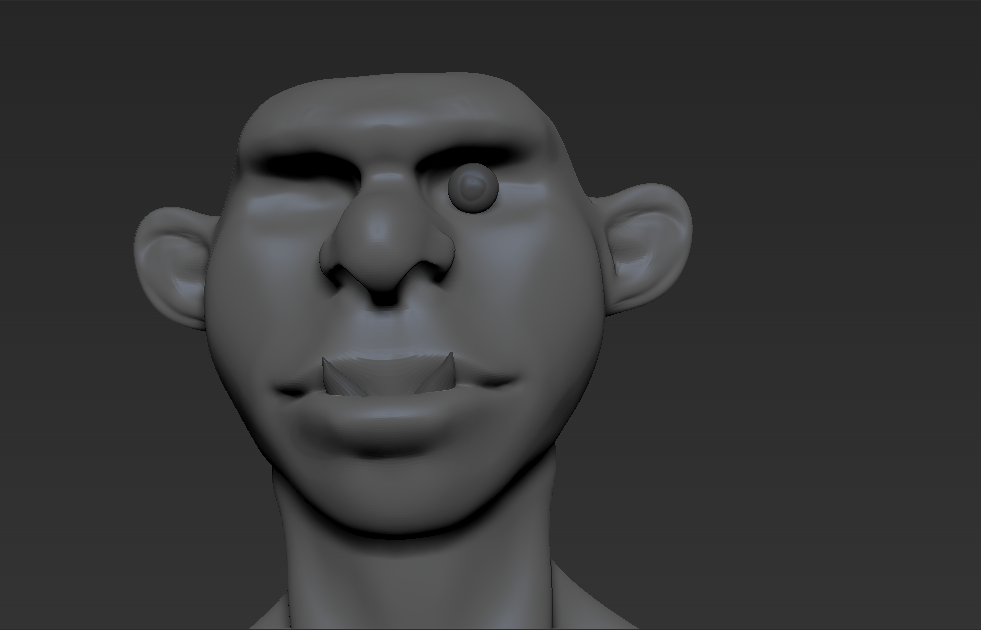
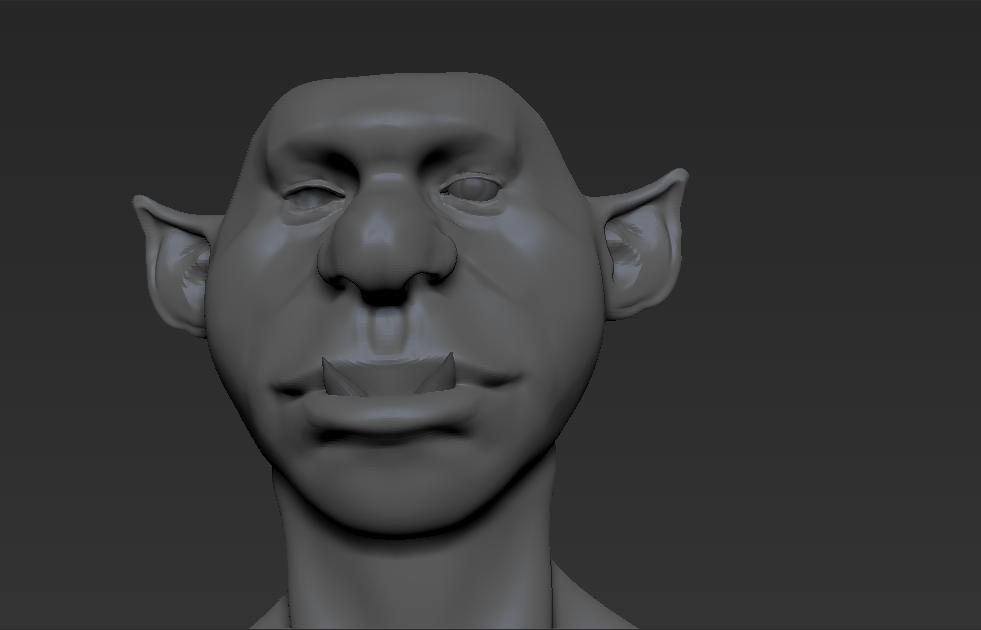
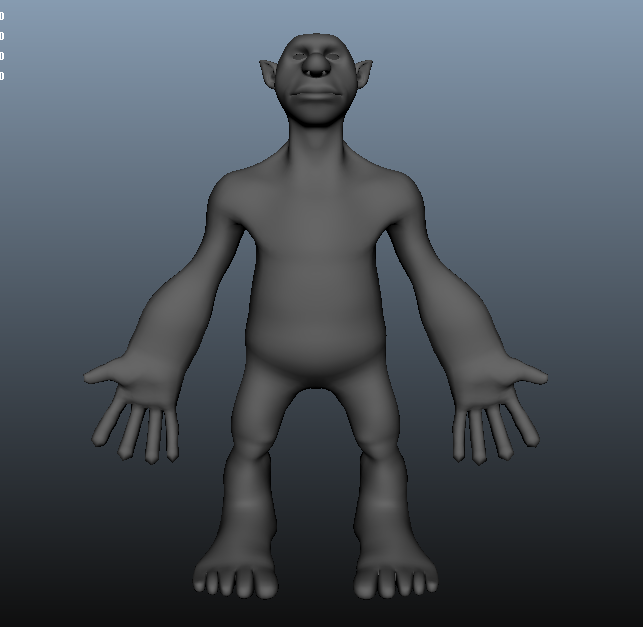
This was the blocking process, and purely for getting the main forms out there. I tried my hardest not to do any detailing (it was a struggle!). This is a quick process and after this I was ready for retopology.
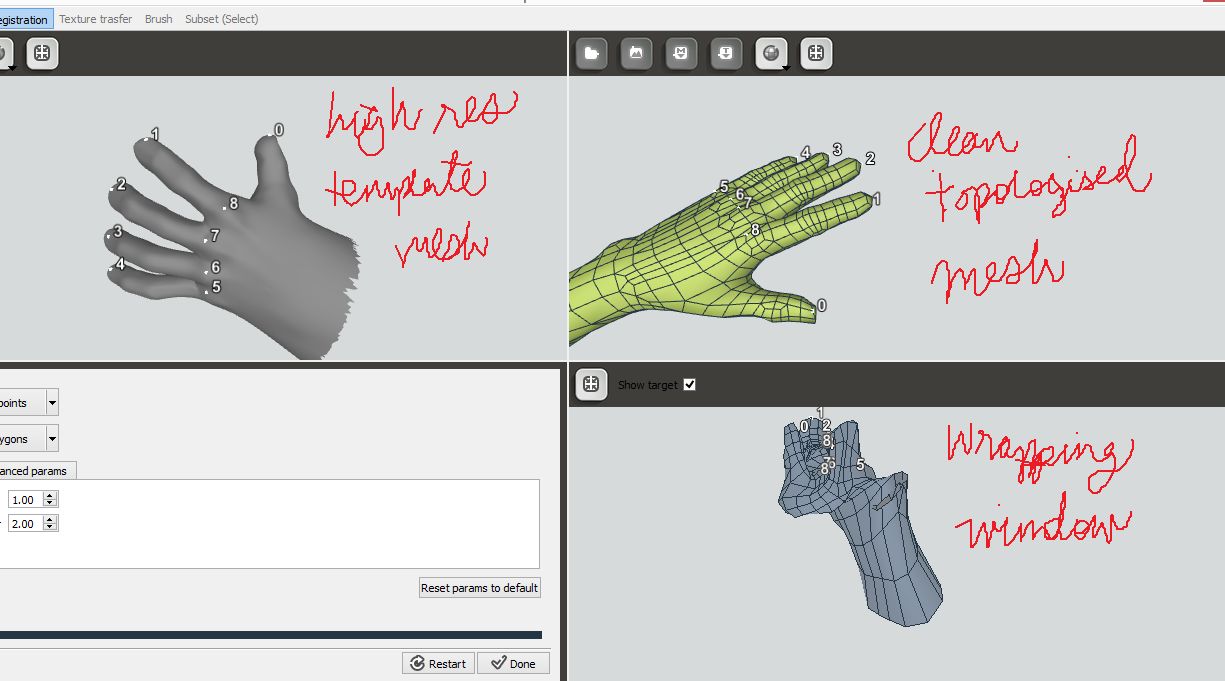
When retopologising I like to experiment with the most effective workflows. With this project especially I tried to learn as much as I could. I found a few interesting solutions. Zbrush’s topology brush proved very good for facial retopology, as it gave a lot of freedom by drawing curves straight onto the face and making quads by simply cross-hatching the curves. I used Maya 2014’s Modelling Toolkit for the body. This was less free-flowing which suited the body as it needed to be more rigid and uniform. The ability to create easy edge loops helped a lot too. Finally, I used Russian 3D Scanner to retopologise the hand. I modelled a generic hand basemesh in Maya, then wanted to see how well the software would wrap it around my high res sculpt. The results were very good.


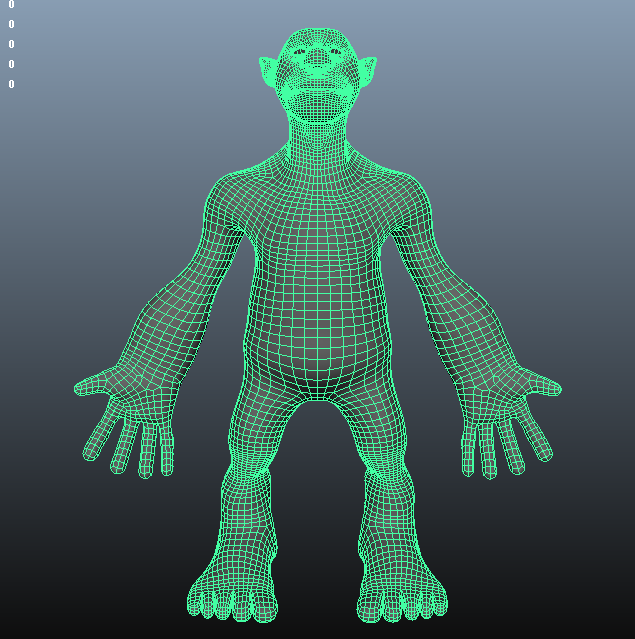
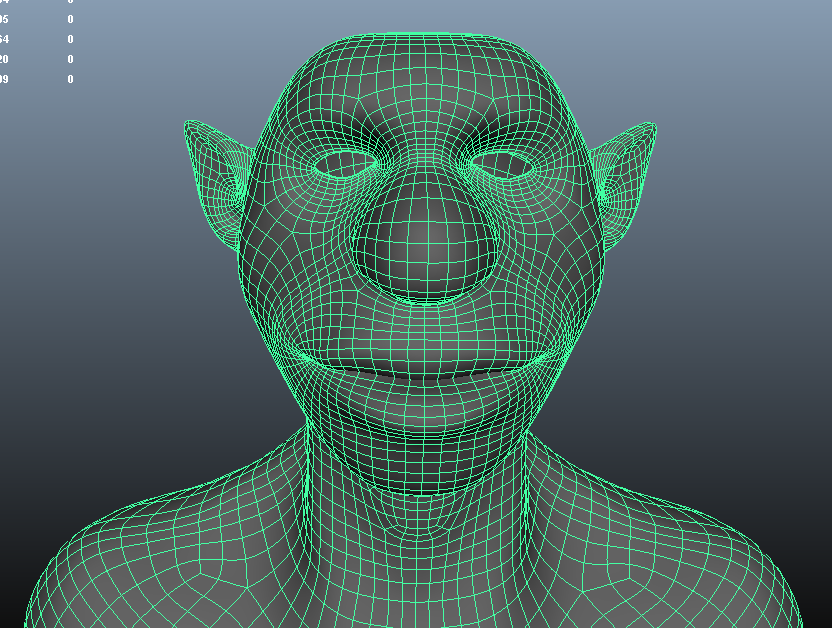
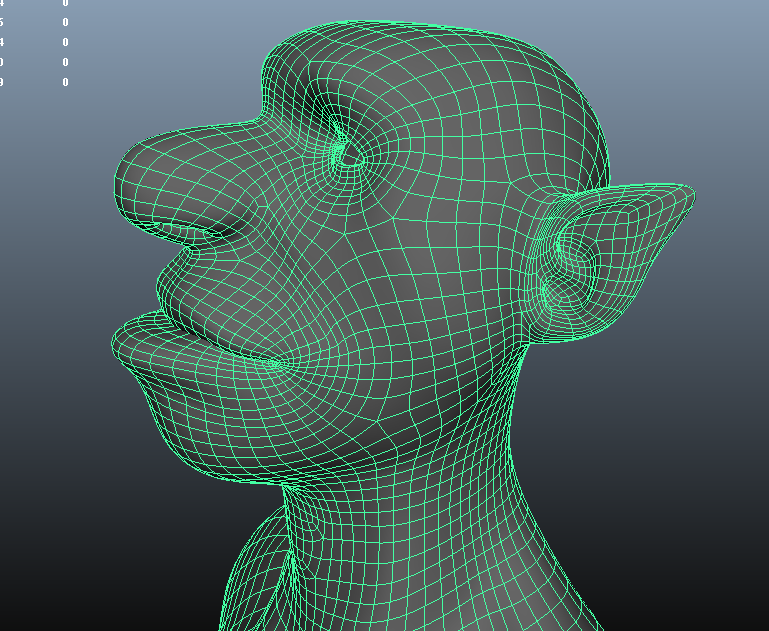
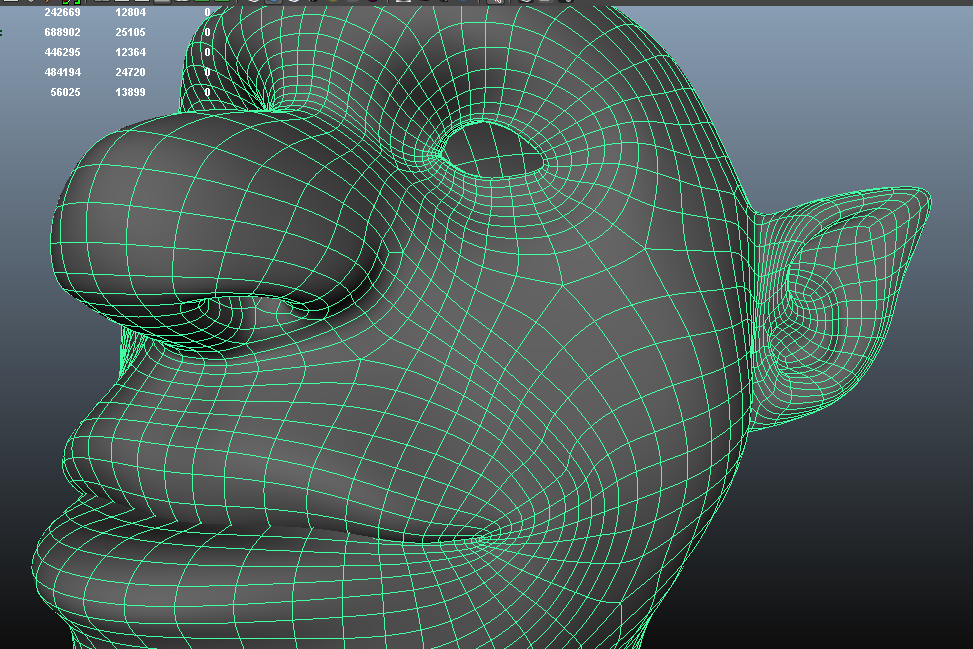
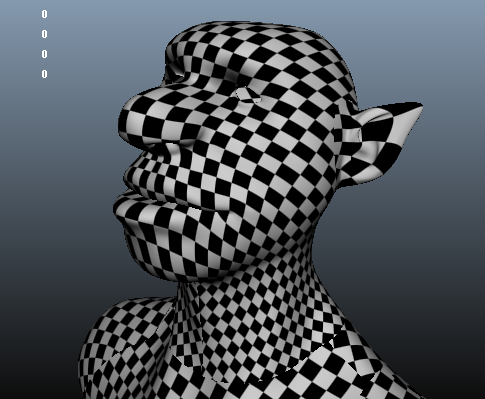
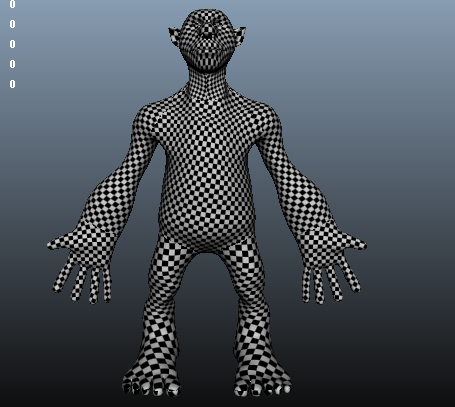
Here are some wireframes of the final topology!

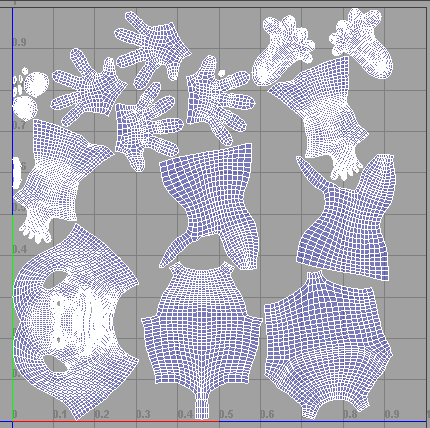
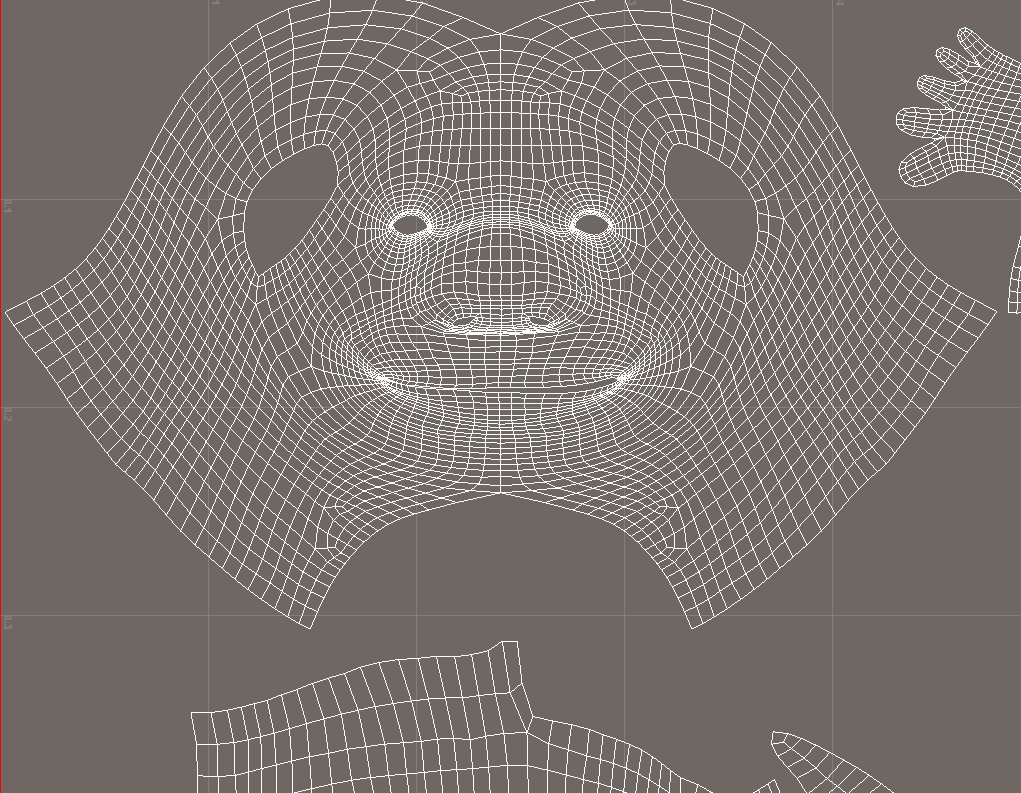
With the basemesh all done, it was time to UV unwrap so I could start sculpting the displacement maps. This was done using Unfold3d (standalone). This area is something I need to work on as I am not completely satisfied with the unwrapping as there is still some stretching (ears for example). It did the job though, so I proceeded further.
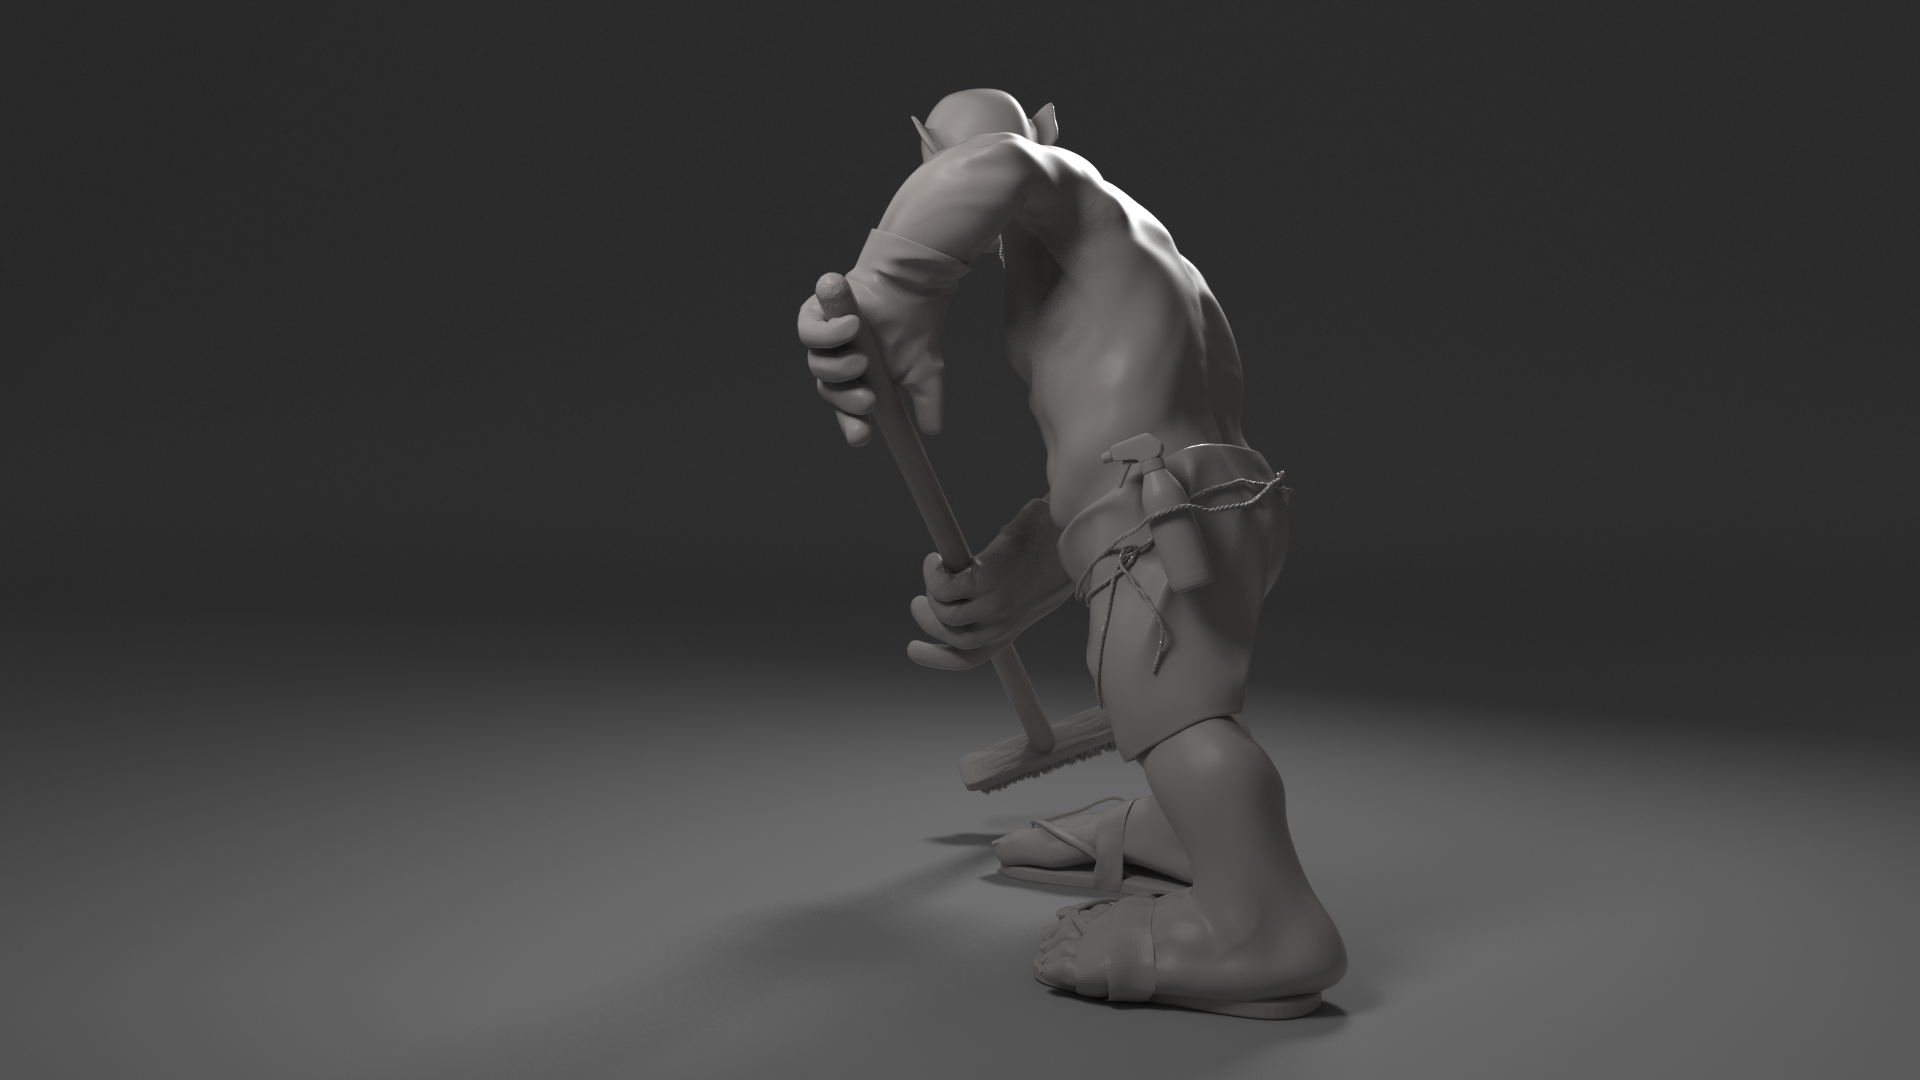
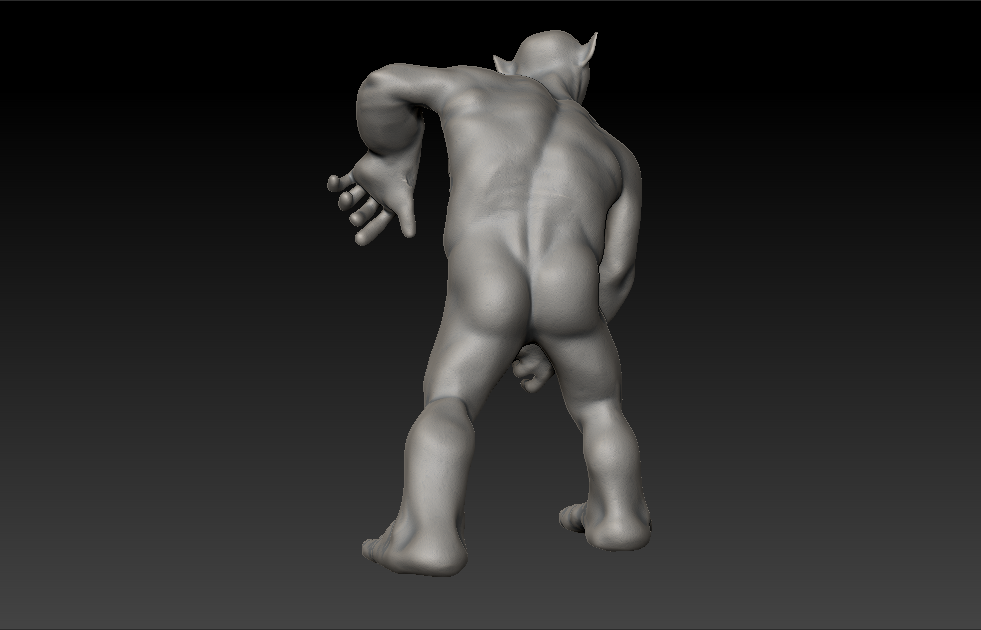
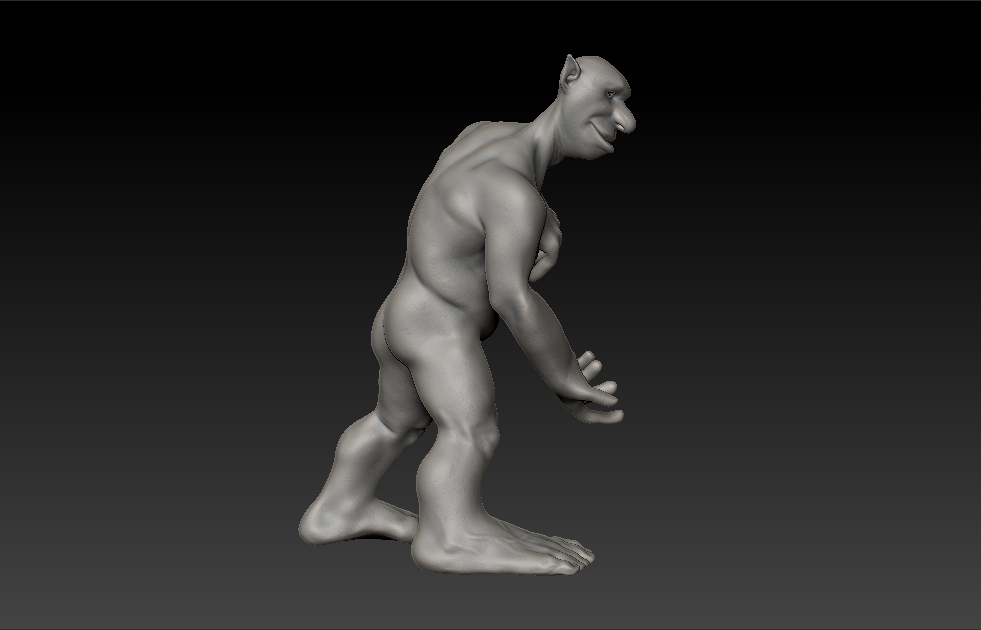
Once UV unwrapped, I was ready to start sculpting. I discarded the old block sculpt, and imported the unwrapped, retopoed model into Zbrush. I started by posing him. I did this using the transpose tools. It was a simple process and it involved masking areas, then rotating or moving them. There was surprisingly little distortion and I had to cleanup a minimal amount. I also made sure to tense or relax muscle groups that were affected by the pose. I then blocked in the anatomy pass. This was to create the foundation for the sculpt and was treated like an ecorche. This would provide very useful later on and in my opinion is generally good practice.


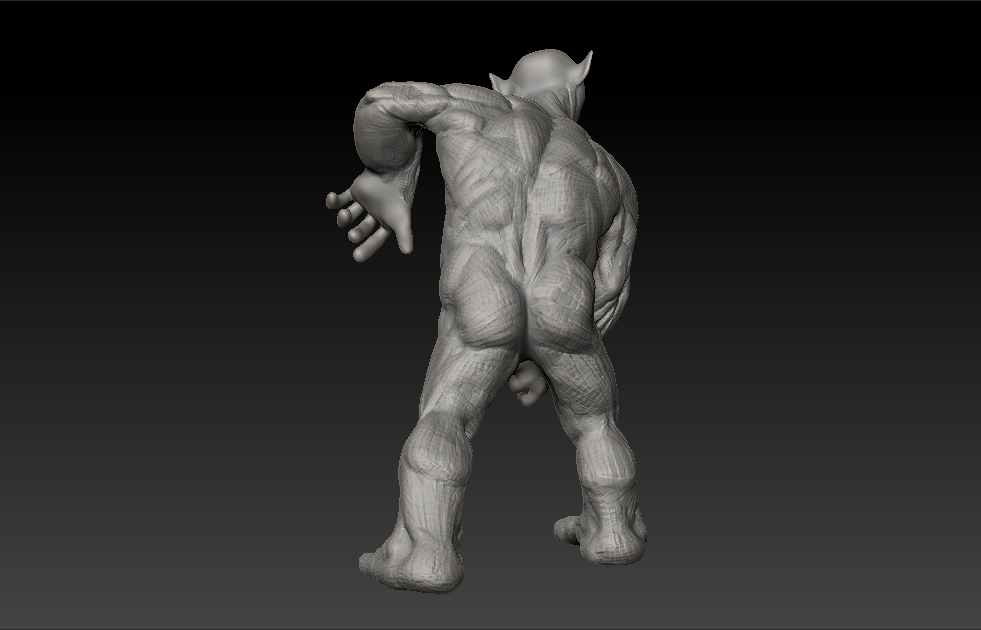
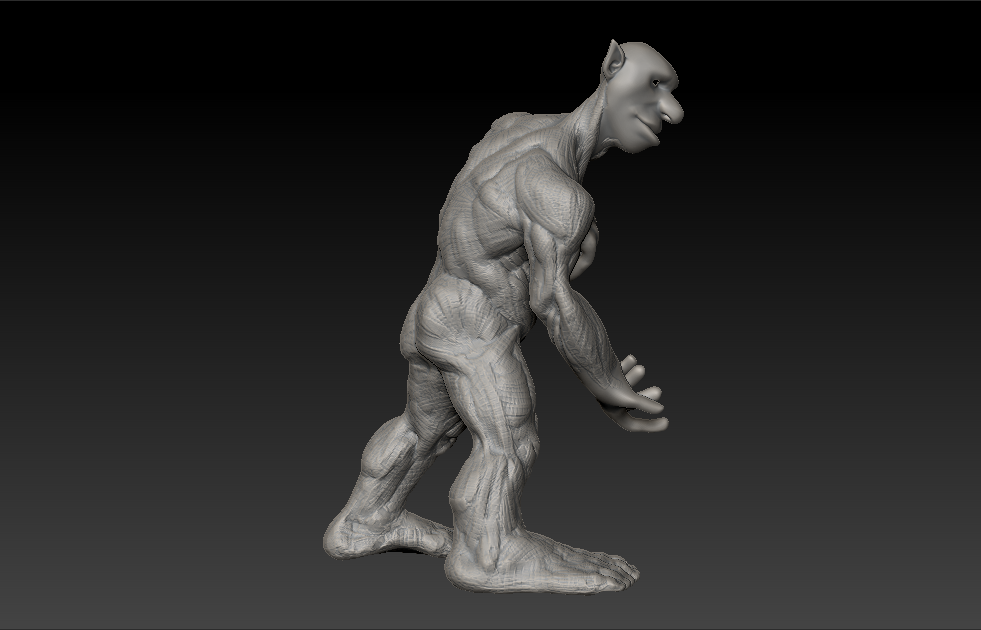

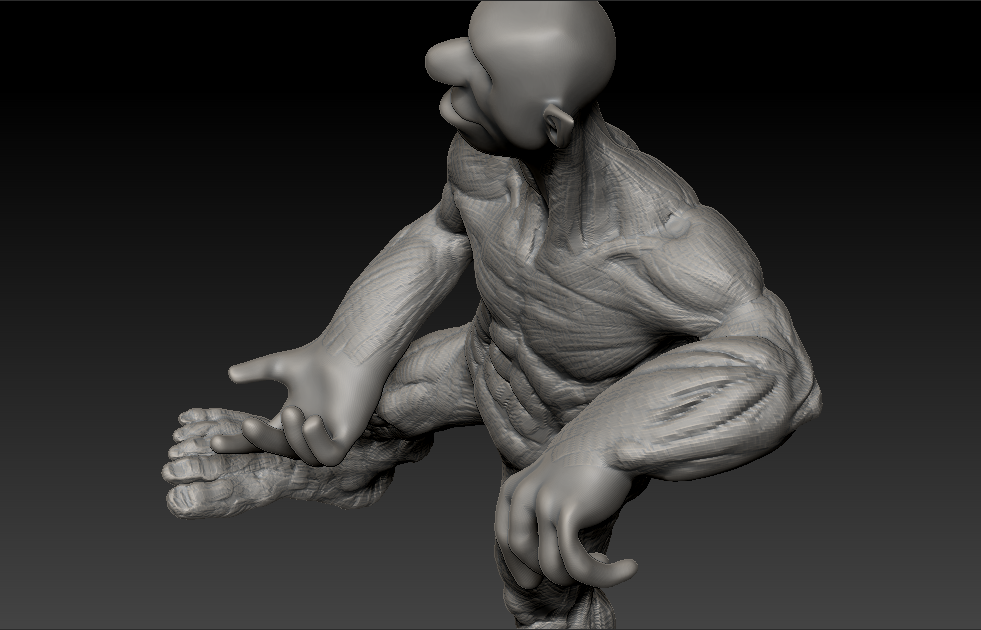
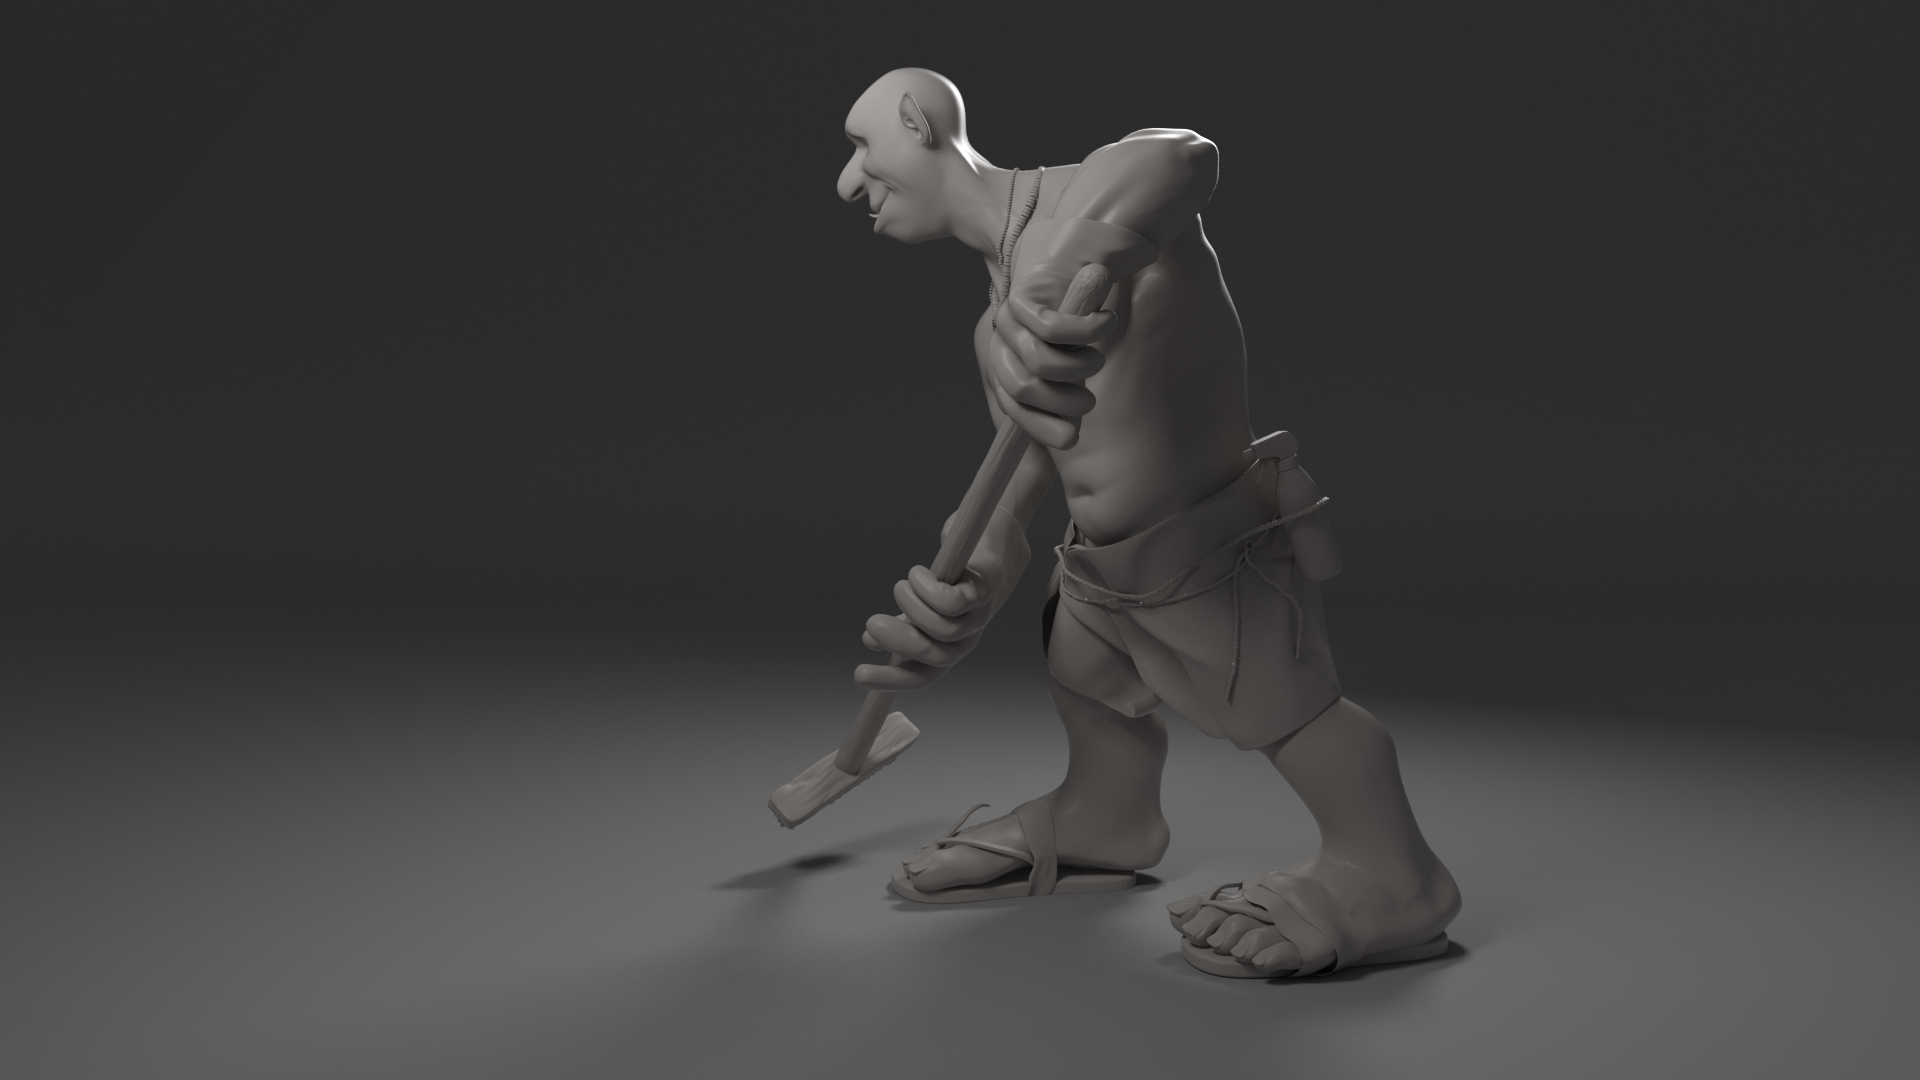
With this done, it was time to cover up most of the work I’d done and put on the fat and skin. This process involved using the smooth directional brush, and clay tubes and standard brushes in Zbrush. I wanted Gerald to be a little chubby but also naturally built (as he’s an ogre and they have mad testosterone). He also likes to eat a lot of sardines and doesn’t do much cardio so the gut is there.
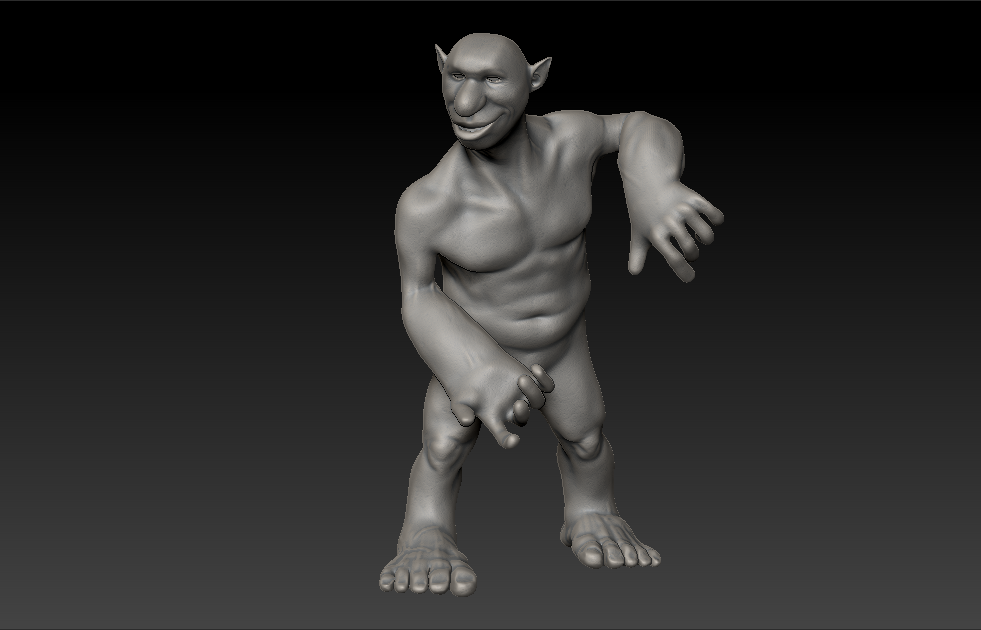


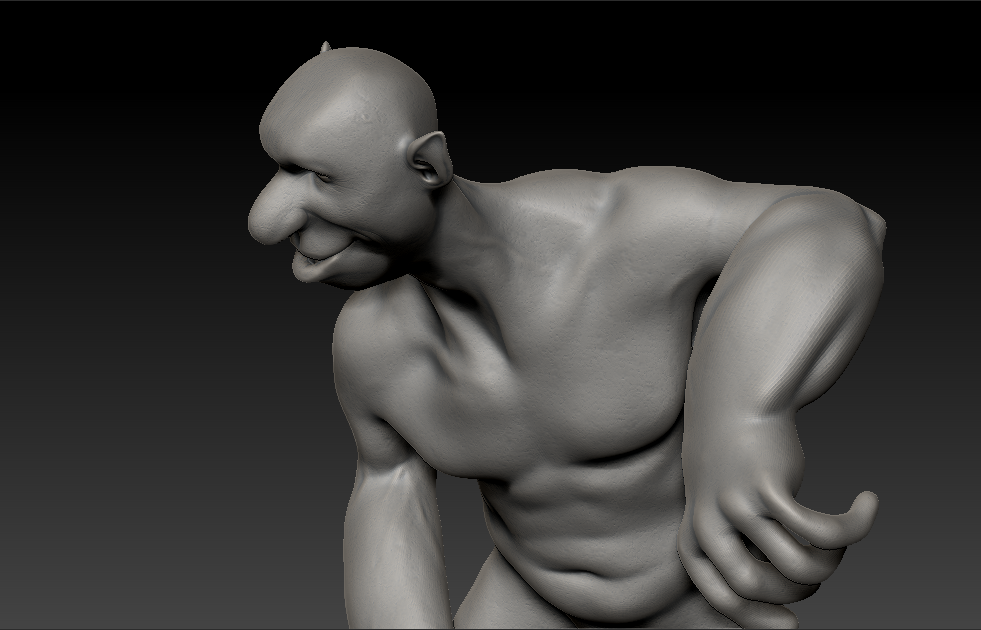
I also added some veins and skin pores (the body was done using NoiseMaker). He looks a little more natural now. At this point I still hadn’t done the hands.
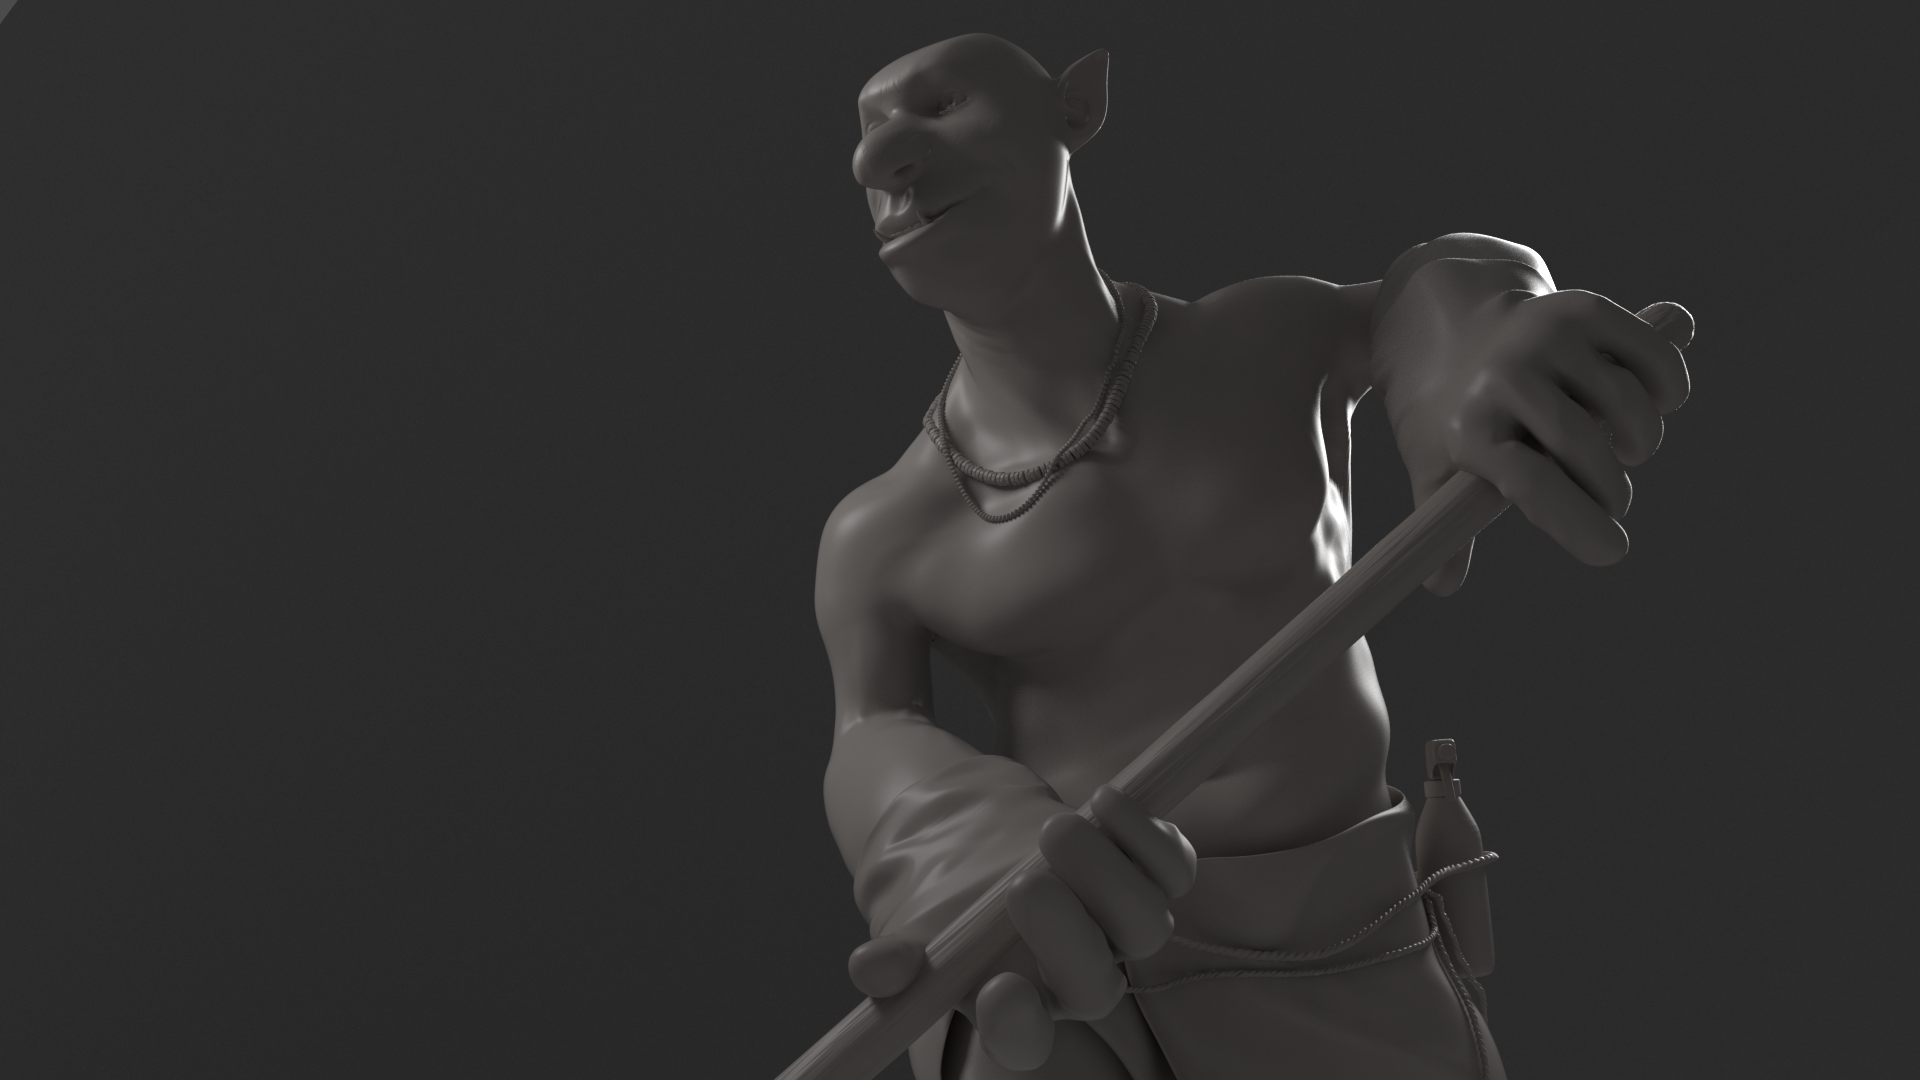
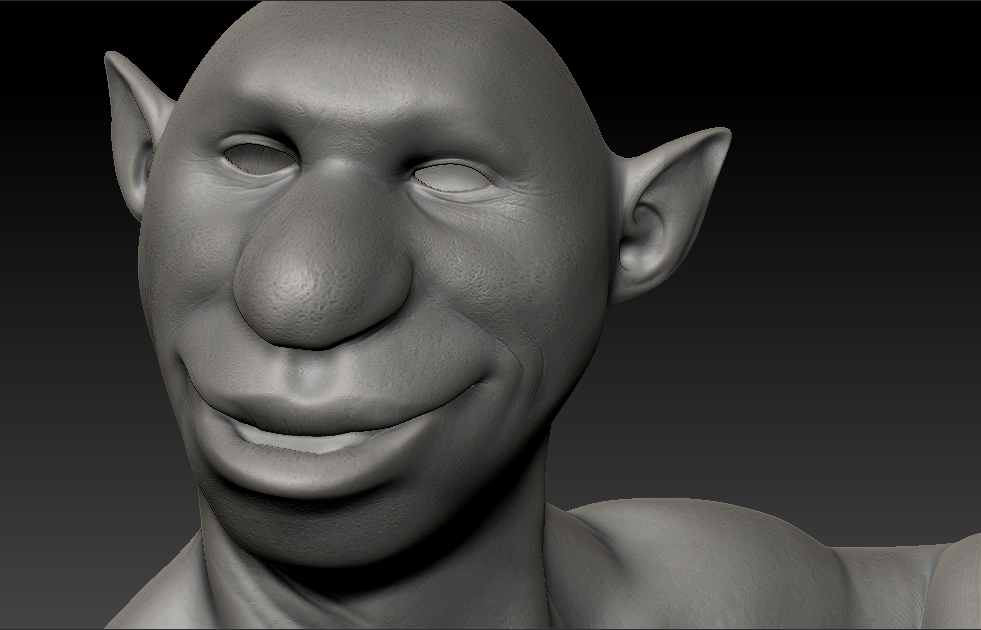
Using skin alphas on the standard brush I added in the facial skin pores.

Once this was done it was time to start working on the props. I used a mixture of techniques to do this. For objects such as the necklaces I use the IMM brush in Zbrush with a custom pattern. This was also done for the rope later on. I made the teeth using polygon primitive subtools and positioned them into place.


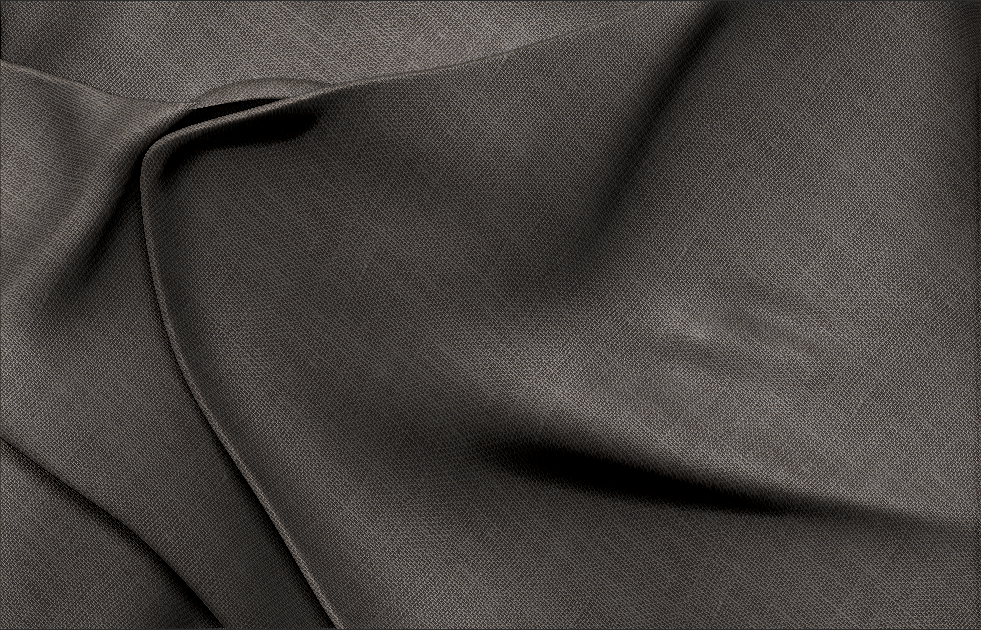
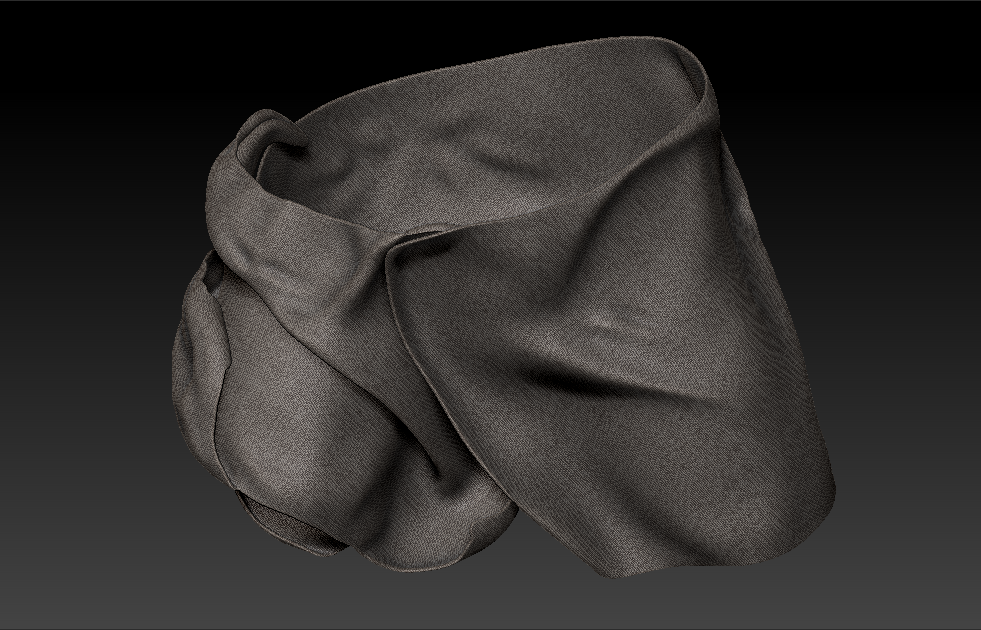
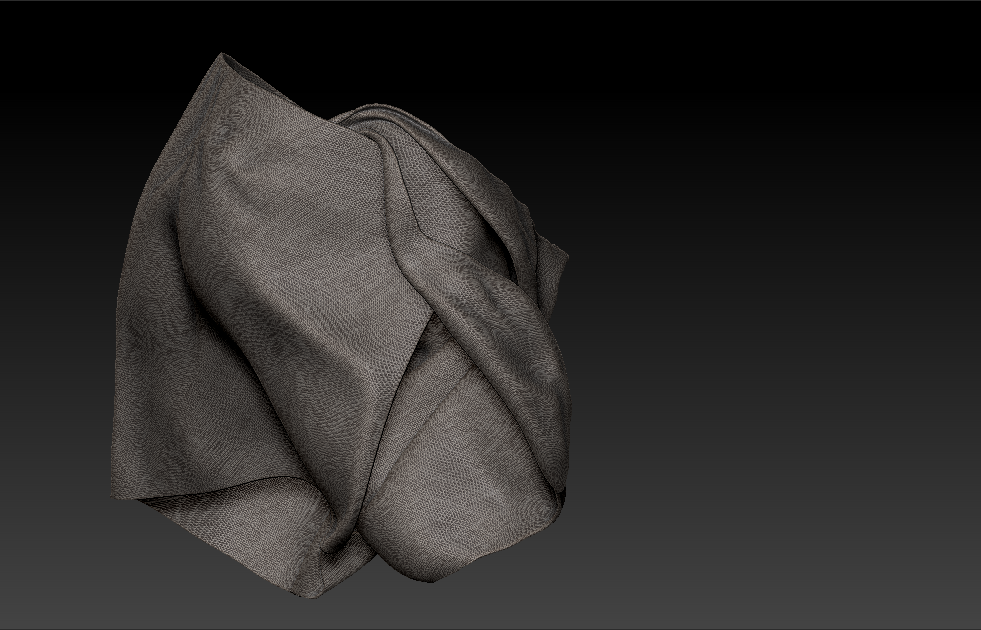
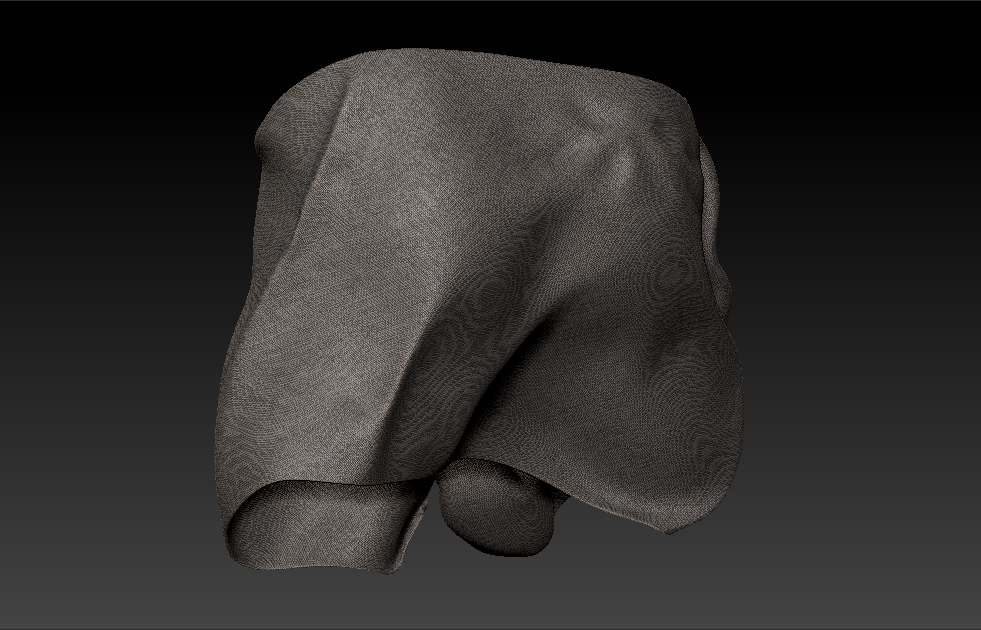
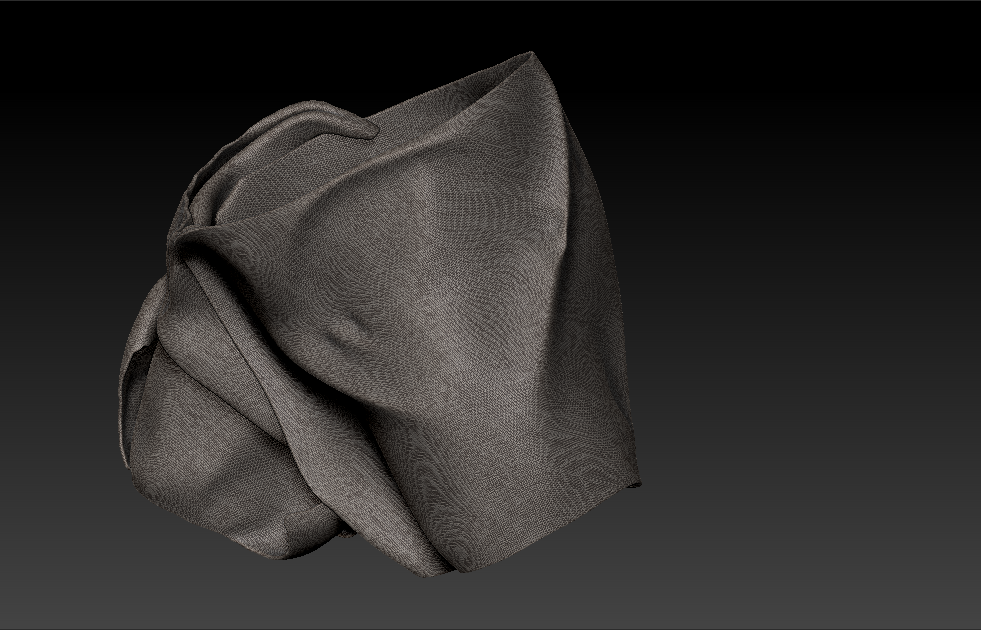
For modelling the cloth, I used Marvelous Designer 4 for the first time. This took some getting used to but I found the software very simple to use after a little research. I simulated a flat sheet around Gerald’s body using temporary pins. I used two pieces of cloth to create this loincloth. I imported the heavy mesh into Zbrush, then decimated, zRemeshed, then sculpted into the cloth to sharpen some folds and move around some forms. I also used NoiseMaker to create a cloth texture.
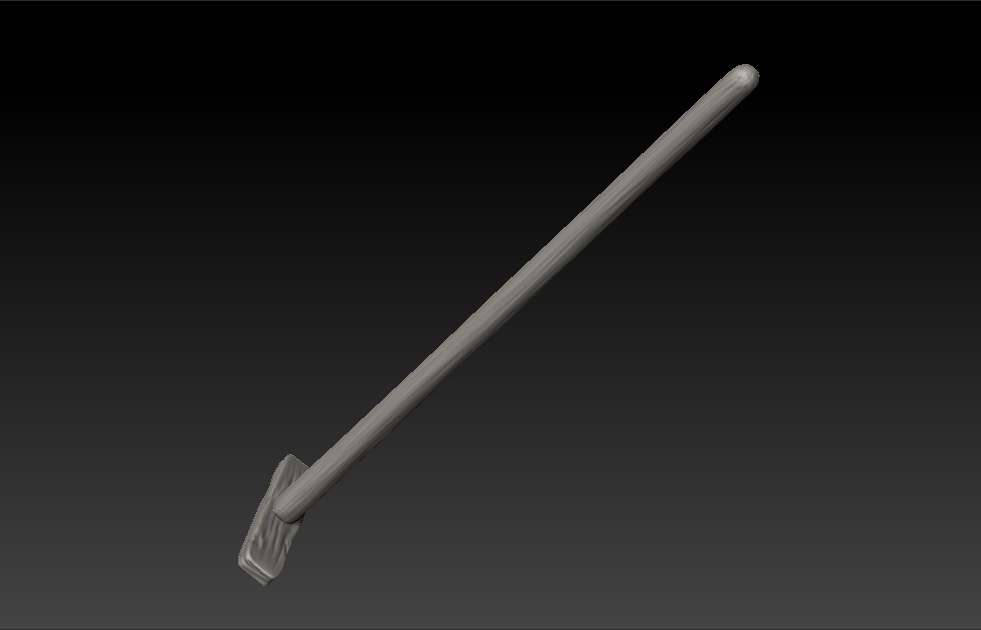
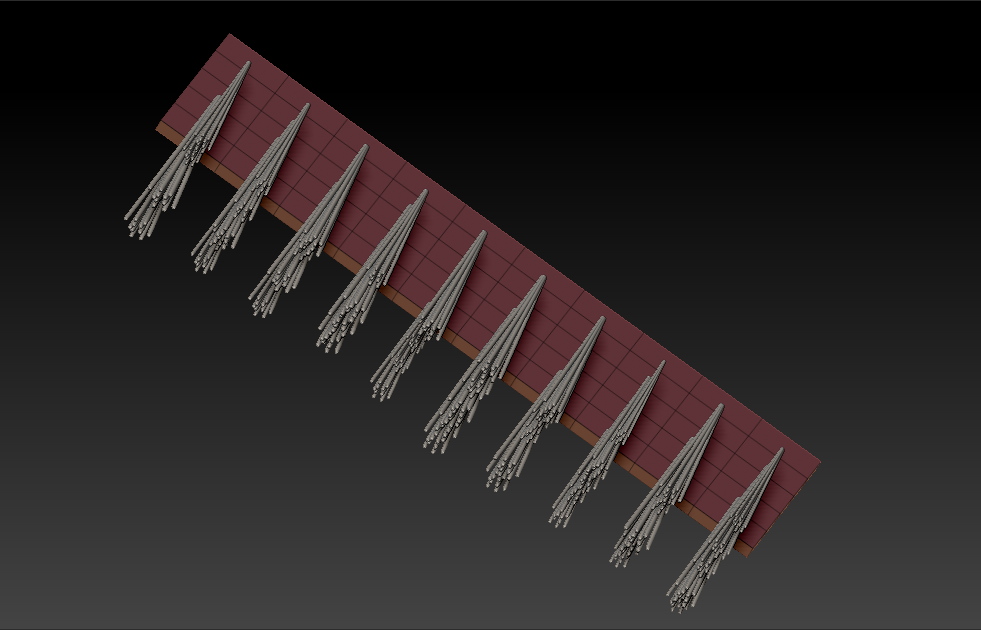
Now onto the other props. I made the broom using polygon primitives in Zbrush. I then added some texture using NoiseMaker. I created the bristles using NanoMesh on a plane with procedural parameters including width and height. This is quite an intensive process, however, so the bristles had to be decimated heavily to retain CPU performance. I’m happy with the look of it but will look into other, less heavy solutions.


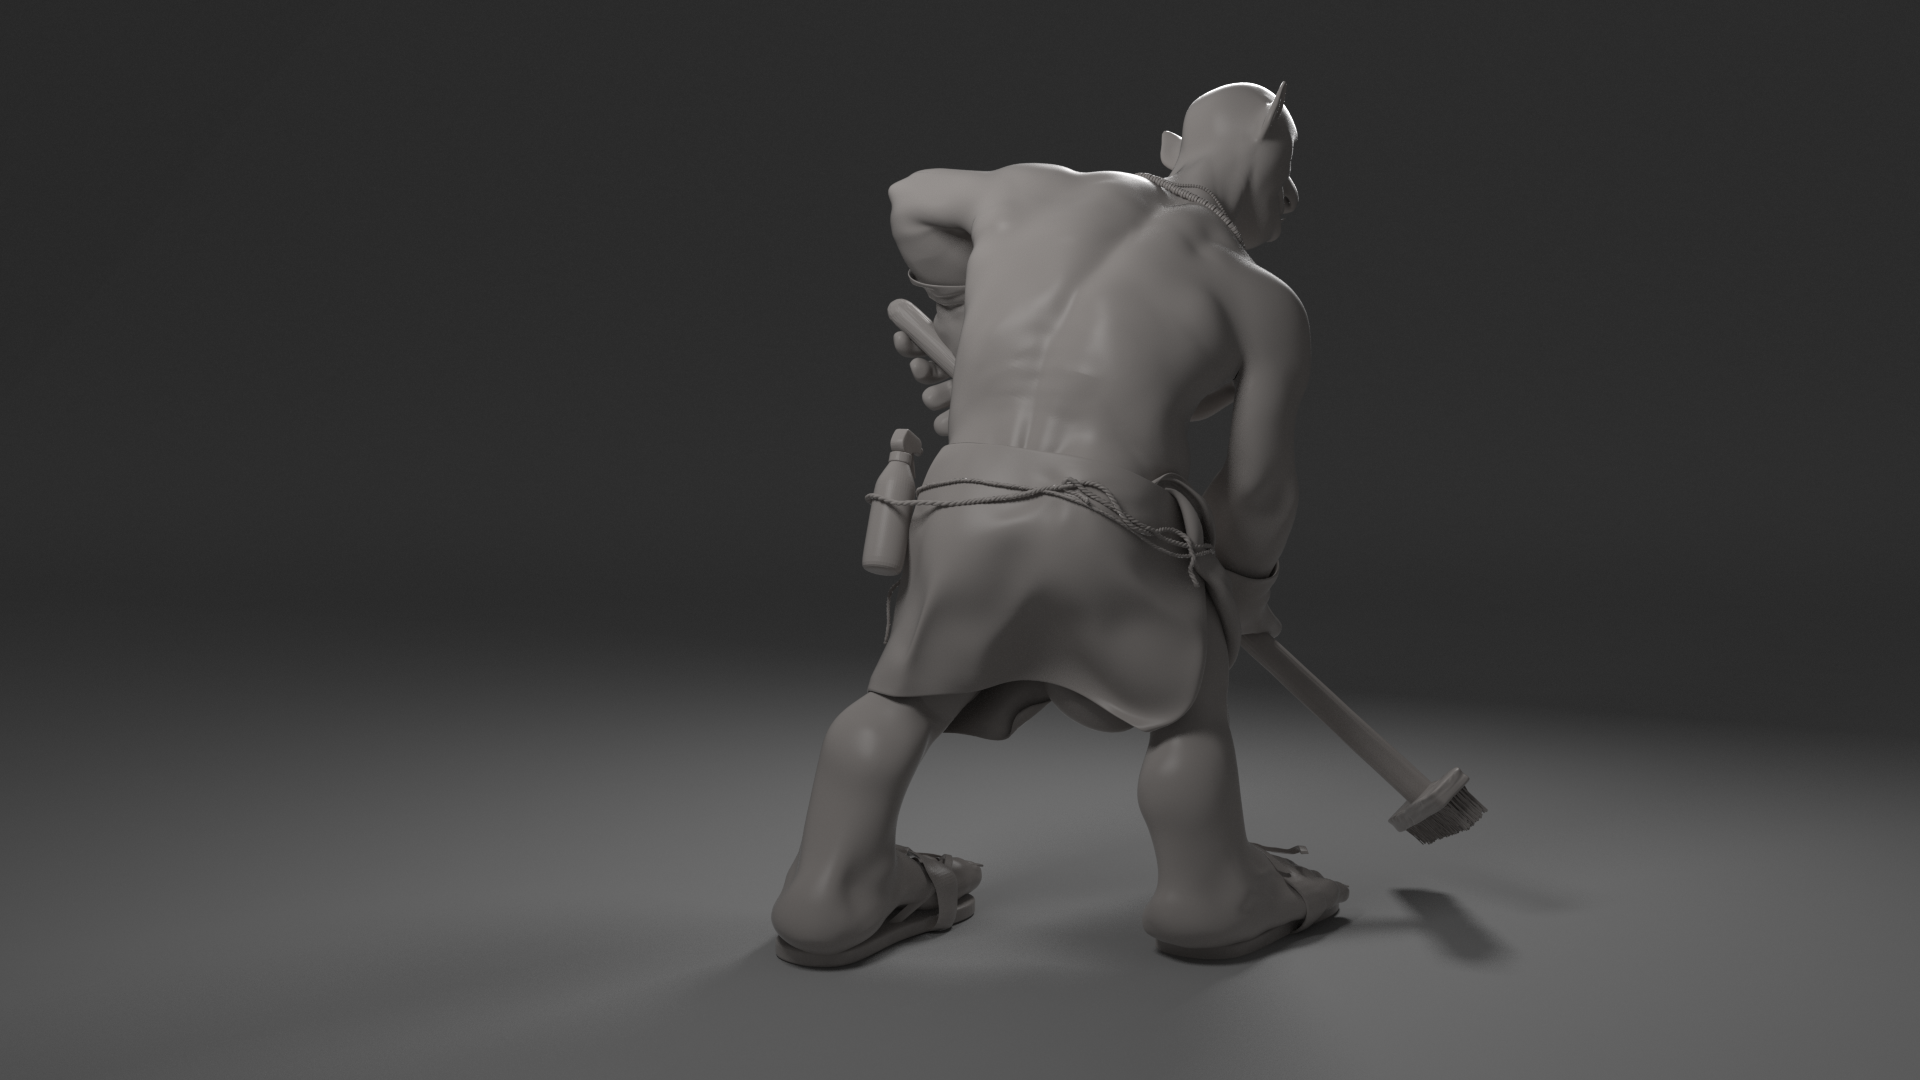
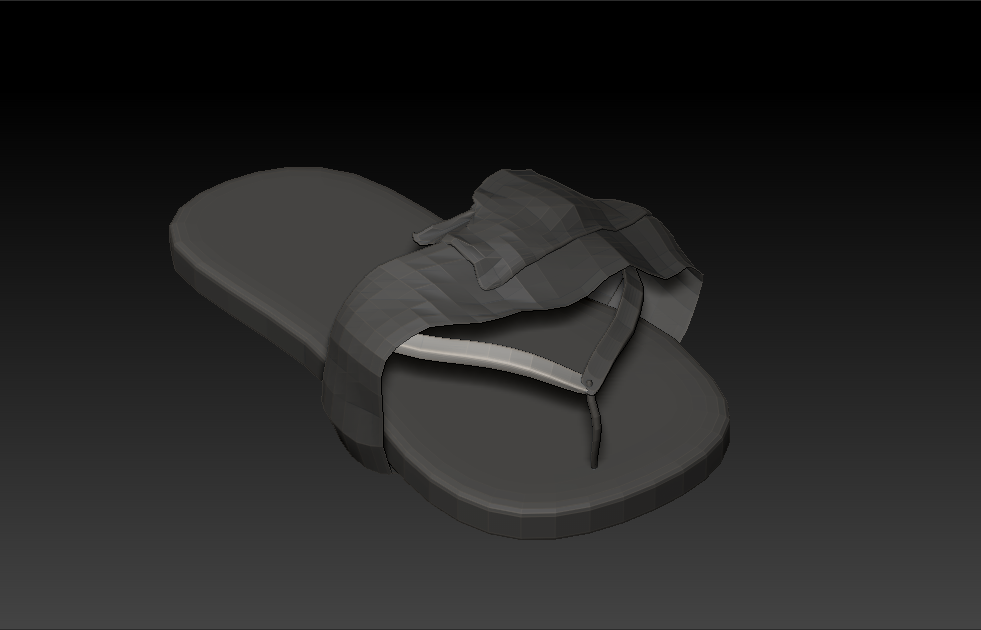
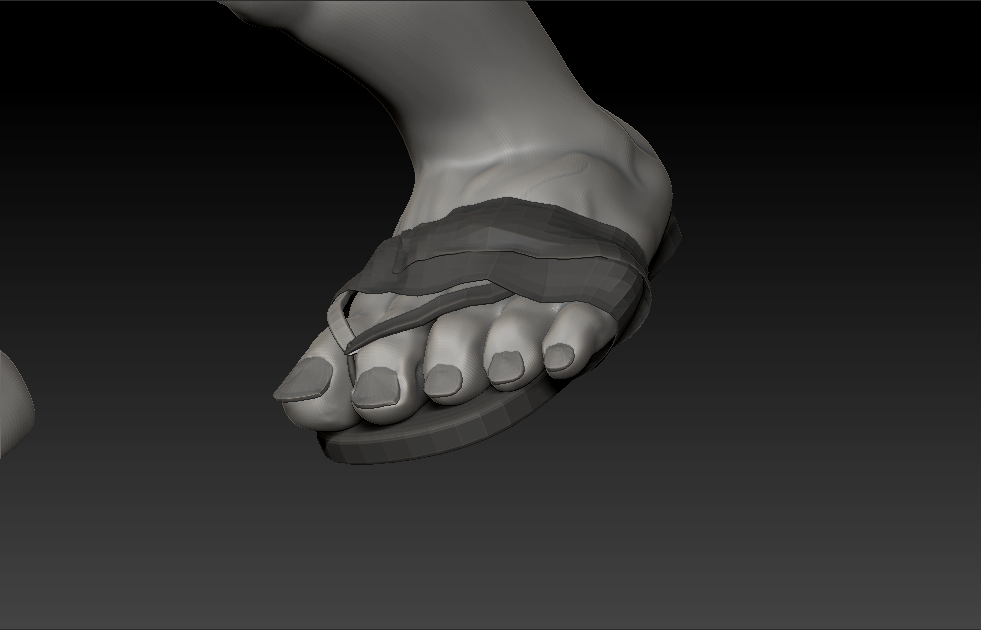
The sandals were done mostly in Maya. I then brought them into Zbrush to smooth and position. They’re meant to be falling apart, with some tape holding them together.


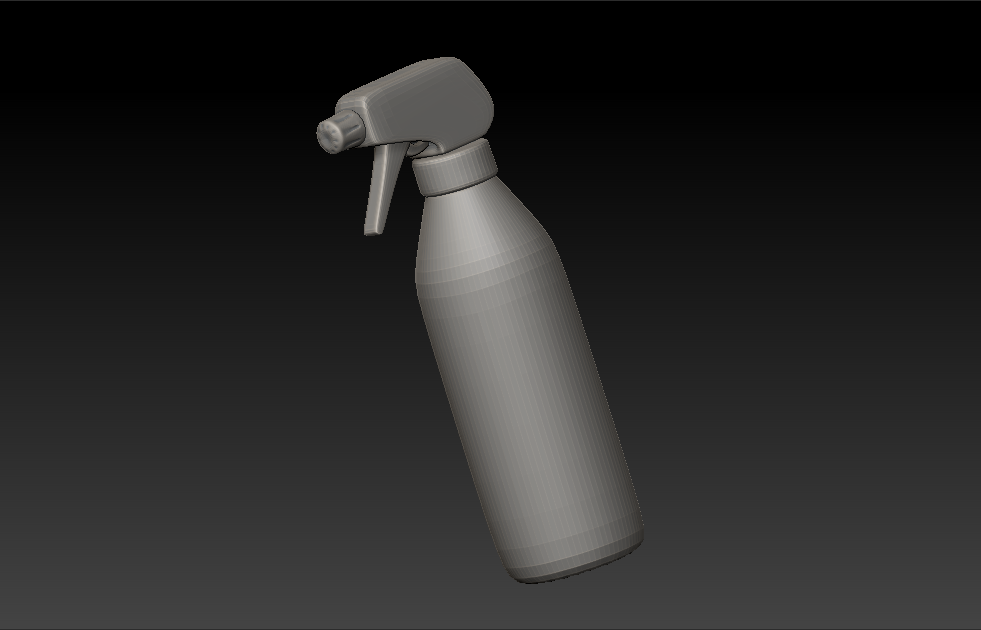
The bottle was done in the same way as the sandals. It’s meant to contain some spray cleaner, tied to his waist for convenience as he cleans.

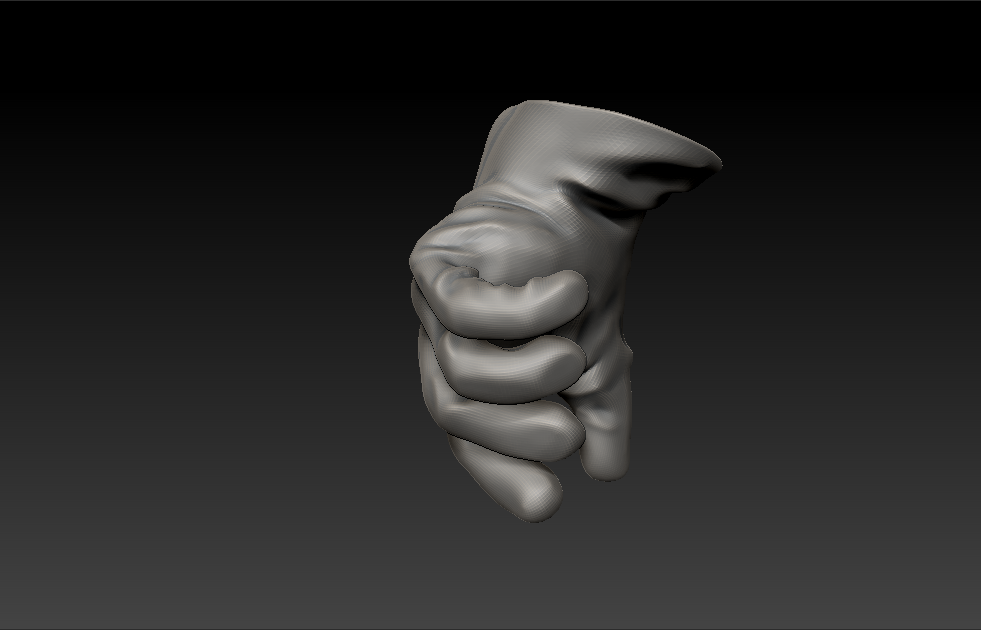
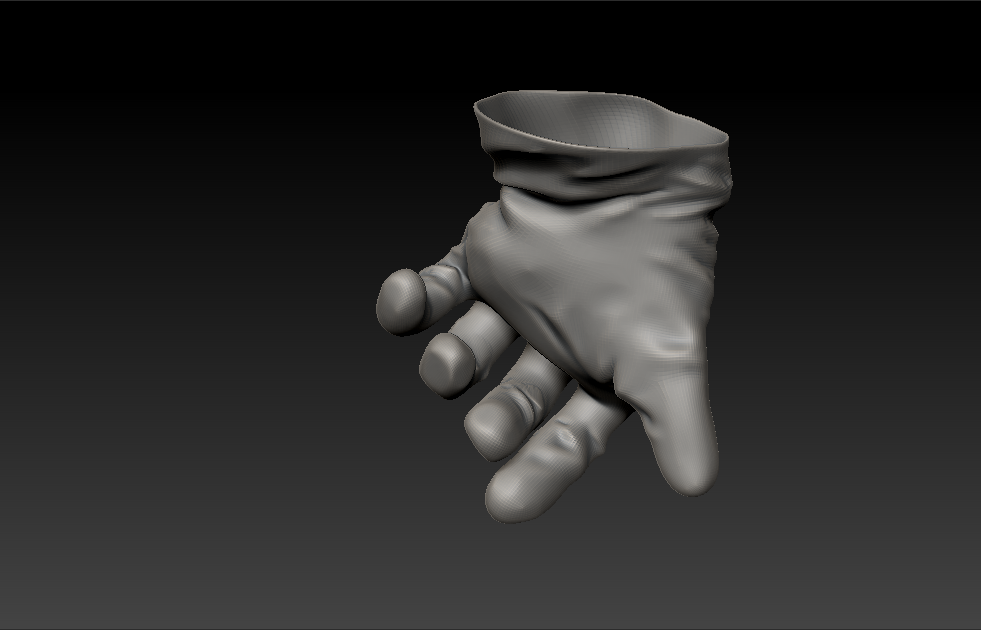
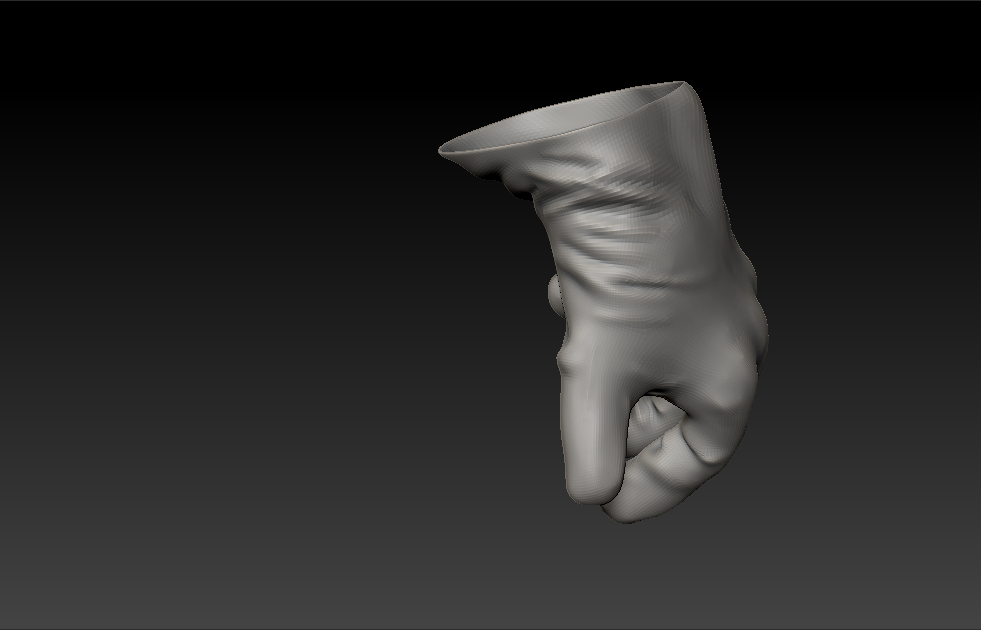
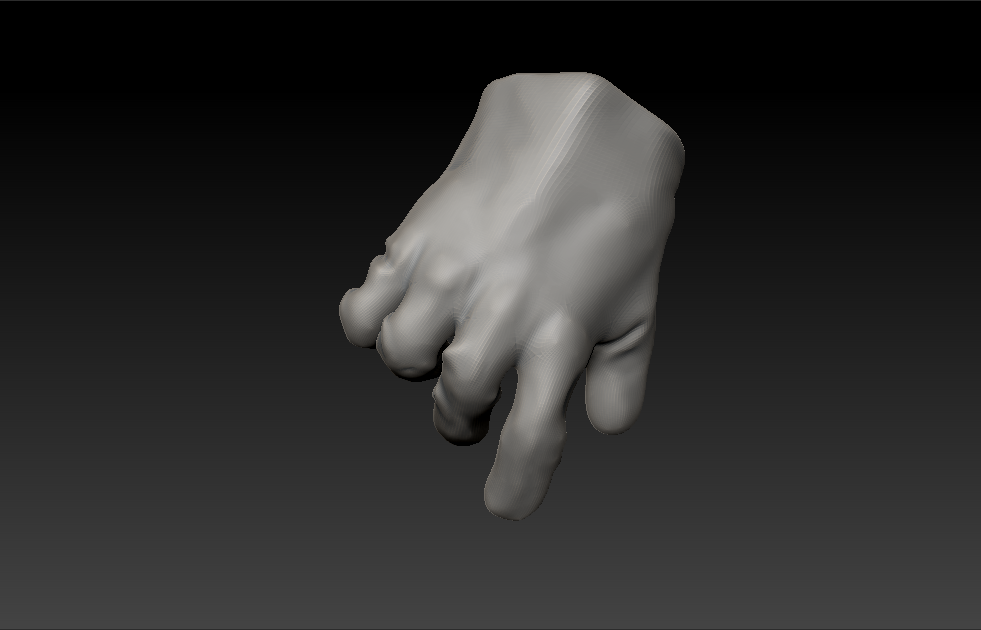
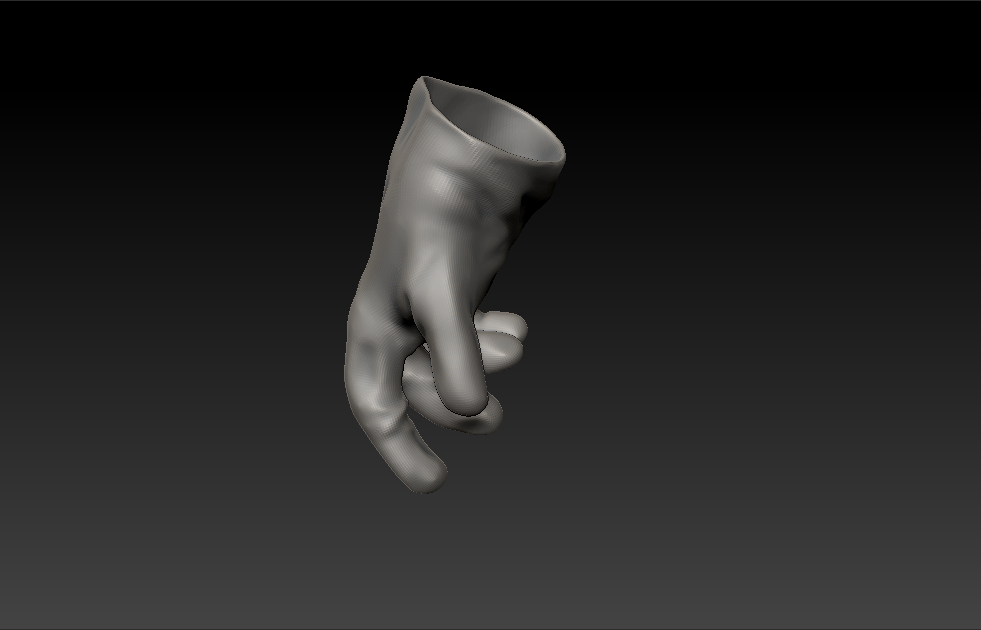
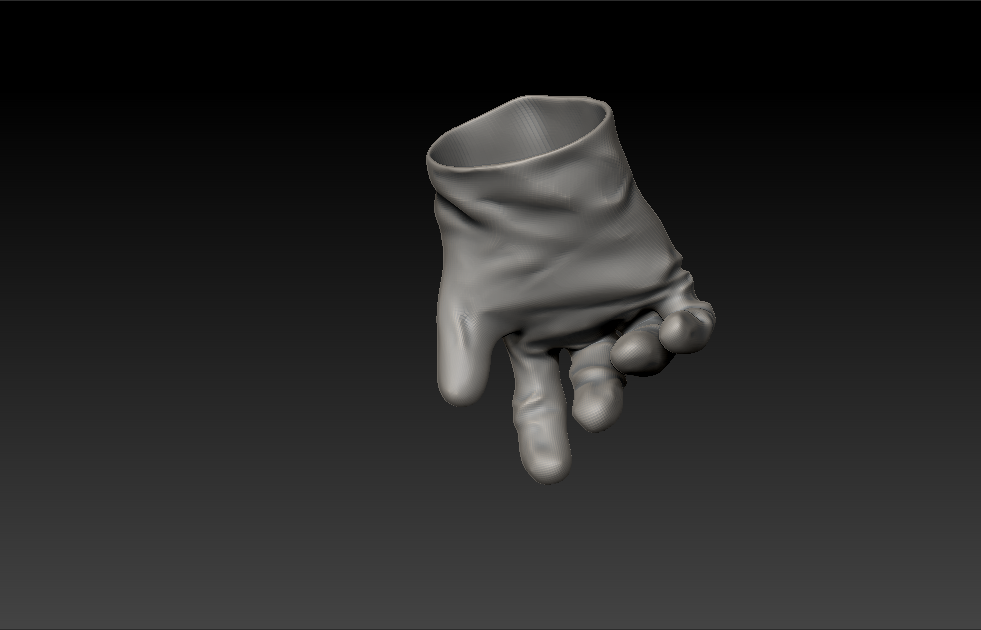
The gloves required more attention. I extracted the hand mesh in Zbrush, then modelled into them. This proved quite tricky as I couldn’t quite get the rubber glove feeling when doing it from pictorial reference. So I went out and a bought a pair of gloves, then took a bunch of unflattering photos from different angles in pose. This was super effective and sped up my workflow greatly. I did this using mostly standard and dam_standard brushes.


And there was have it! That concludes the write-up for the sculpt of Gerald the happy cleaner! Here are some turntable renders and final shots. I will go on to texture him so keep a look out for that.